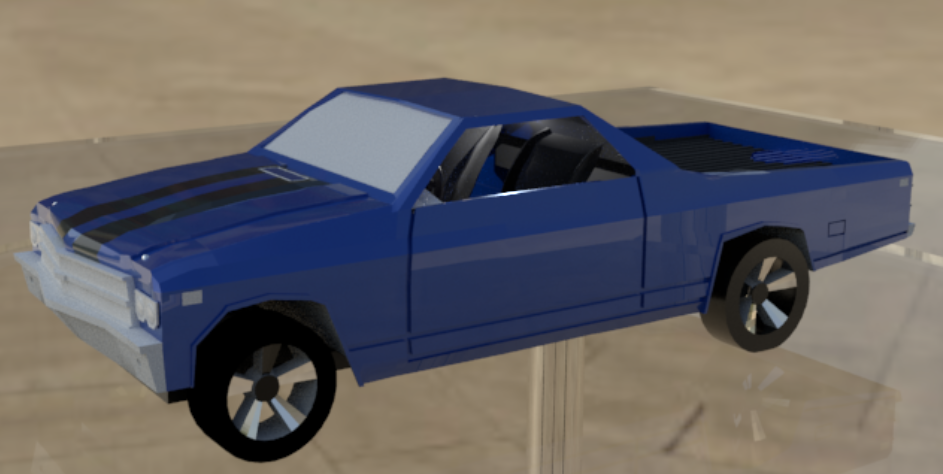
In order to make the model appear as it is now, I broke down the assignment into two main tasks. The first task dealt with shading, texturing and lighting. The second task deal with rendering the scene to produce a small video. I briefly describe each phase in the following section.
Shading and Texturing:
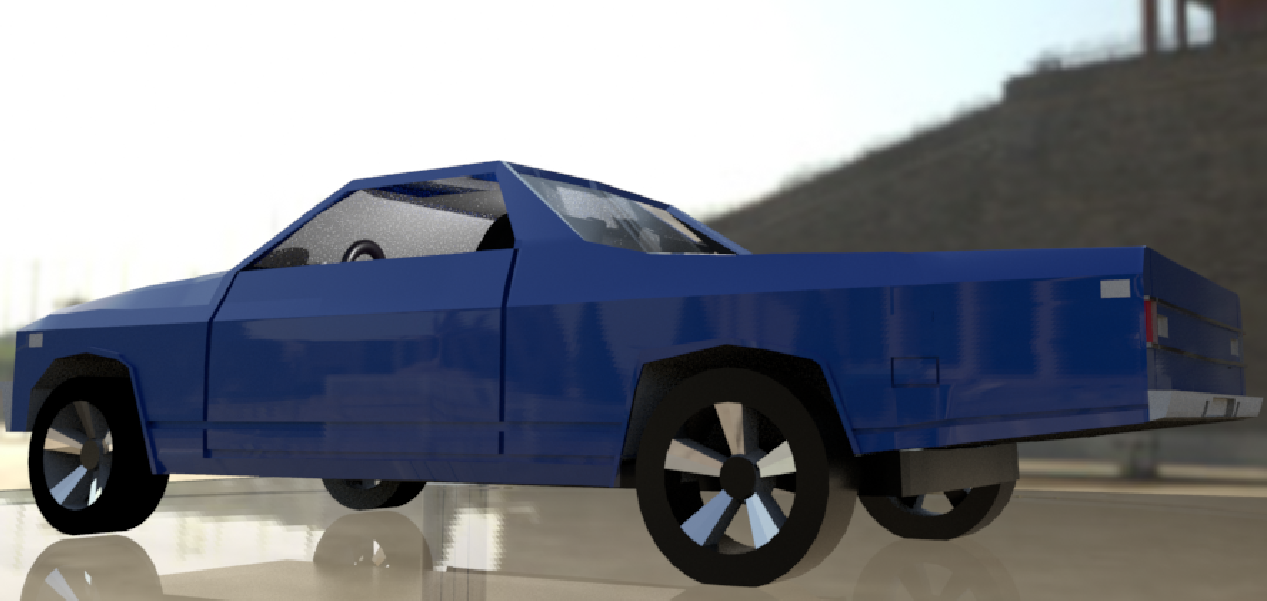
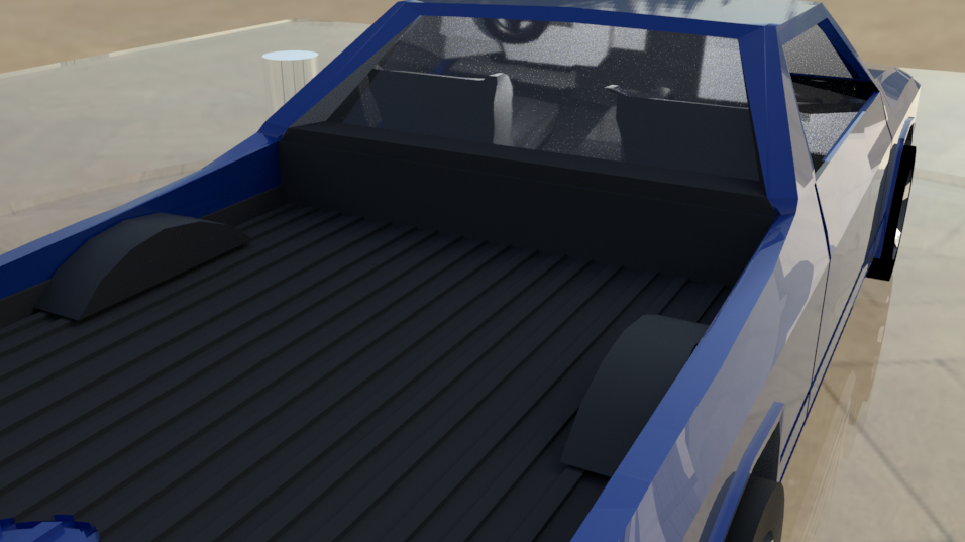
I created new materials in the hypershade editor. Once this was done, I renamed the created materials and shaders with appropriate names and further adjusted their shader properties. I made use of lamberts for uniform color requirements with no specularity. Whenever I required more reflective, specular shading, I used the Blinn and Phong materials. Shading, coloring and texturing was done on a face by face basis rather than doing that for the object as a whole. This makes me realize that it is also important to think of modeling the object in a part by part basis rather than have one whole uniform object which would make the process of shading a more tedious task. Additionally, I made use of the Arnold surface shaders (aiStandardSurface) for many parts of the car like the metal bumpers, glass, etc.
Lighting:
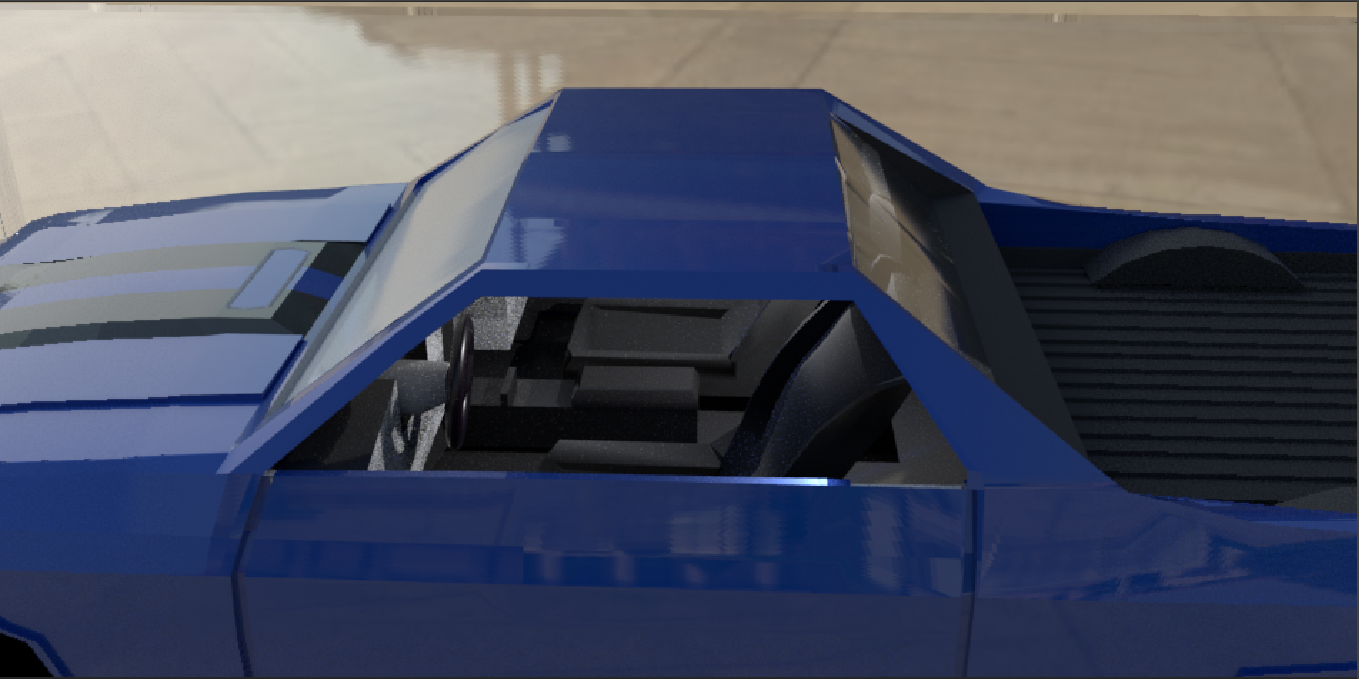
Working behind the principle of the three point lighting is a great way to add illumination to the scene. I made use of a Skydome lighting option that Arnold provides. In this method, I made use of an HDR panoramic image that I applied to the scene. In my case, it was an image that included a temple and a few cars around. I also used a spotlight inside to illuminate the interiror of the car.
Rendering:
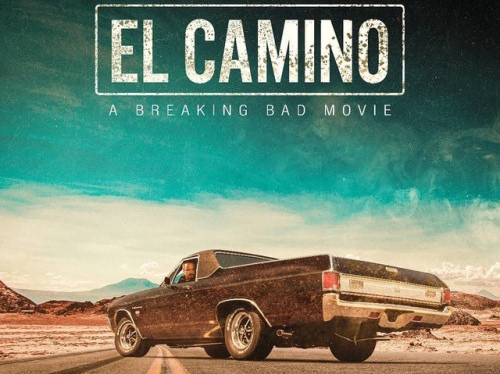
I was tasked with making an animation that resembled a turntable. This required a camera that moved around the object in question (the El Camino ). To achieve this, I created a nurbs circle and attached a camera to its motion path. Then I made sure to choose 90 frames as mentioned in the assignment. I
used the Arnold Renderer and chose the appropriate render settings to generate a set of png images, one for each frame. It is important to also use the appropriate naming convention, quality, resolution, and other properties like diffuse, transmission, etc. for the render job. I batch rendered with the chosen settings and this generated the sequence of png images. Next I took these images and combined them in sequence to form a short video.
used the Arnold Renderer and chose the appropriate render settings to generate a set of png images, one for each frame. It is important to also use the appropriate naming convention, quality, resolution, and other properties like diffuse, transmission, etc. for the render job. I batch rendered with the chosen settings and this generated the sequence of png images. Next I took these images and combined them in sequence to form a short video.
Finally, the rendering took a long time on my computer, so I uploaded an earlier version. But I will update this when I add even more detail.
The animation is shown below: