Animation I developed for this assignment.
Note: I did not have the Arnold renderer license when making this project and hence you might notice the watermark in the video
First I conceptualized the idea of my animation. I chose to give it a rough story in order to understand what kind of movements are required for the animation.
Story:
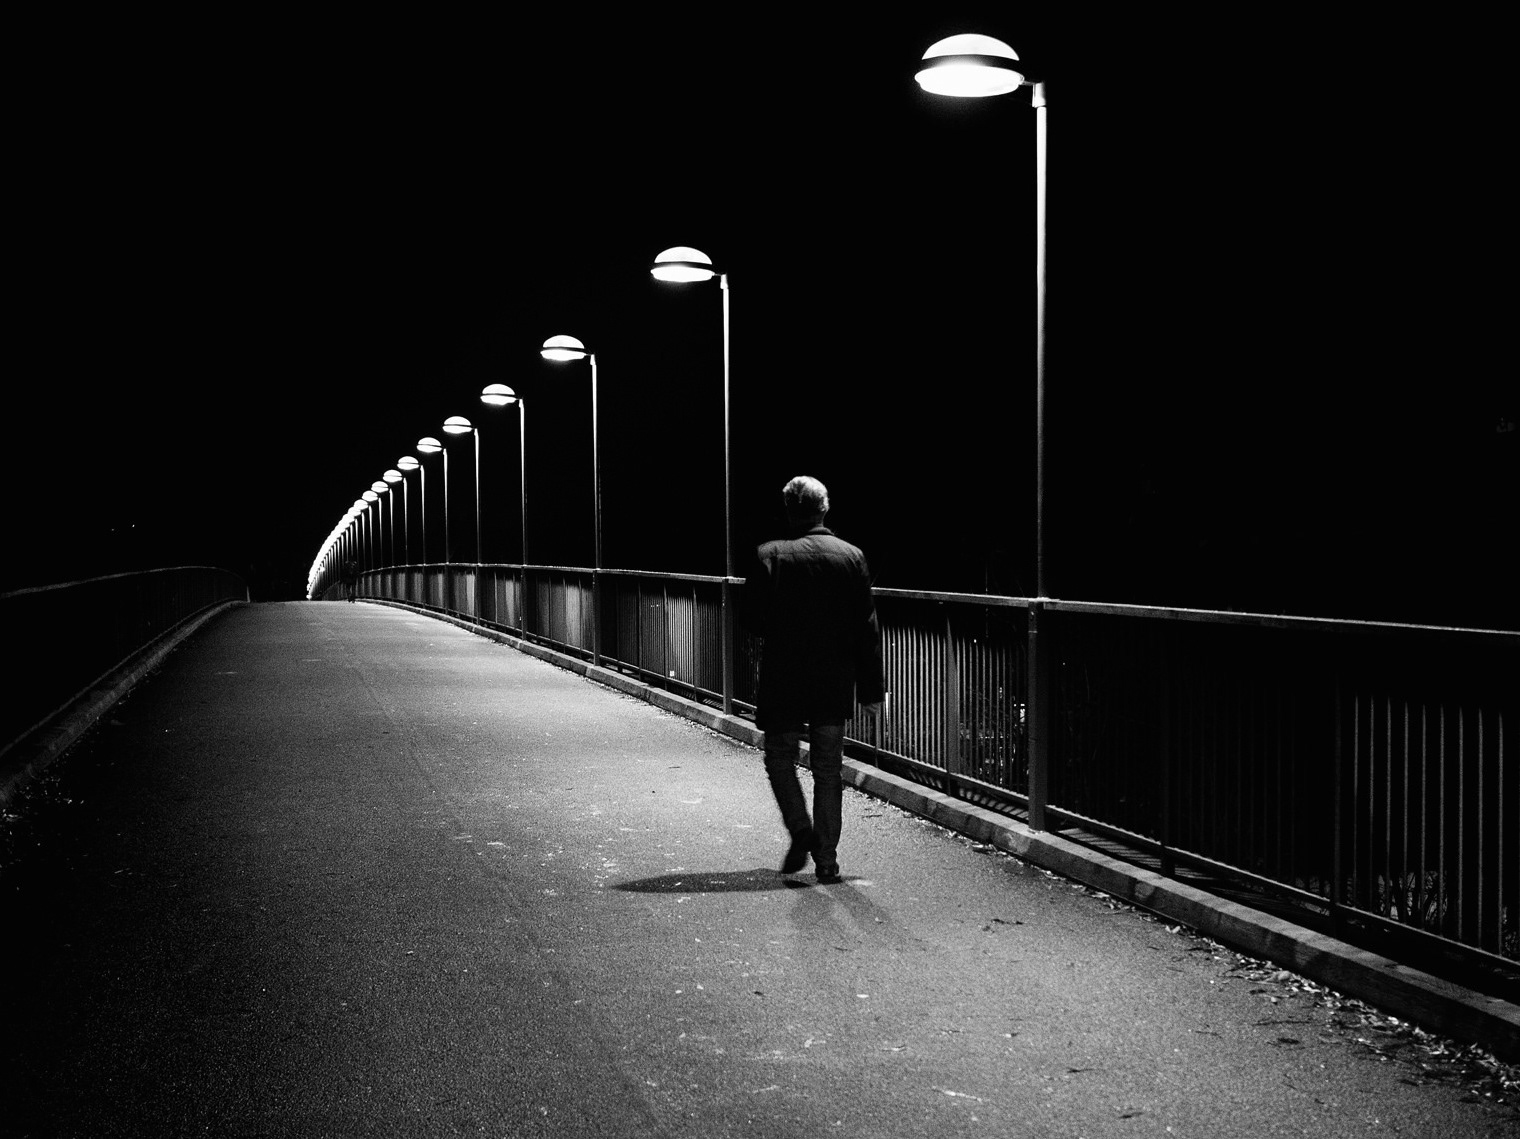
Meet 'Mustache Marshall', a happy go lucky character known to arrogantly stick by certain brands. Watch him strut through a street at night with an interesting plot awaiting his immediate plight. After having already finished one Coke (from earlier), he chances upon his second, gets real excited and then takes off, quite literally!
Meet 'Mustache Marshall', a happy go lucky character known to arrogantly stick by certain brands. Watch him strut through a street at night with an interesting plot awaiting his immediate plight. After having already finished one Coke (from earlier), he chances upon his second, gets real excited and then takes off, quite literally!
Modeling tasks:
For the purposes of this project, I spent a little less time modeling objects and characters due to the fact that I utilized previously modeled objects that I either modeled earlier or downloaded free 3D models (from Turbosquid) of. It might be useful for you to know that in Turbosquid, not all free models are available as '.obj' or '.fbx' (3D model file types) files, but as Maya scenes with the objects in those scenes. To account for this, one has to go into each and every specific scene and export these objects after scaling and adjusting them as either fbx or obj files according to your choice.
Specifically, in this project, I modeled a paint bucket, a barrel, a wooden plank and beverage cans. To model the paint bucket, I simply started by created a cylinder and then added edge loops around the curved surface to create ridge surfaces. Then I extruded these ridges outwards to create that grove like appearance. I also chamfered the center vertex on the circular side and adjusted the position of the resulting circle to make a lid like like structure. To make it look more realistic, I added a handle to the paint bucket by creating a pipe and deleting half its geometry and adjusting the remaining geometry's vertices and edges. To model the barrel, I used a cylinder and adjusted vertices to create a bevel like appearance in the center. Refer to the earlier assignments to understand how to accomplish this. As for the beverage cans and the plank, they were simply created by adding cube and cylinder type polygons to the scene. As for the Billboard, I put some effort in setting up the screen which is explained in detail later.
Specifically, in this project, I modeled a paint bucket, a barrel, a wooden plank and beverage cans. To model the paint bucket, I simply started by created a cylinder and then added edge loops around the curved surface to create ridge surfaces. Then I extruded these ridges outwards to create that grove like appearance. I also chamfered the center vertex on the circular side and adjusted the position of the resulting circle to make a lid like like structure. To make it look more realistic, I added a handle to the paint bucket by creating a pipe and deleting half its geometry and adjusting the remaining geometry's vertices and edges. To model the barrel, I used a cylinder and adjusted vertices to create a bevel like appearance in the center. Refer to the earlier assignments to understand how to accomplish this. As for the beverage cans and the plank, they were simply created by adding cube and cylinder type polygons to the scene. As for the Billboard, I put some effort in setting up the screen which is explained in detail later.
Rigging tasks:
Now I chose to use "Mustache Marshall" as the character for this animation sequence. For this requirement, one can either rig the character according to what story they are trying to tell (what movements they're planning, what joints need to be prevalent, etc.) or get a rigged model that satisfies all their needs. For this sequence, I found a rigged character on Turbo squid. But this didn't make half as easy as I would have wanted it to be. I sat for a couple of hours overnight just getting the stubborn old "Mustache Marshall" to walk right. I played around with his rig controllers for his left and right feet, his toes, heels and knees for both legs. Additionally, there was a central hip controller to adjust the position of his hips. I initially spent hours creating a walk cycle which, only later turned out to be too fast for my animation. So I ended up redoing this process spreading out frames and doing basic math operations (which can be very hard if you haven't had a good 5 hours of sleep :P).
Animation:
To show you the brilliance that is 'anti-advertising', I added key frames for the various objects that I animated in the scene. Key frames were added for the characters rig controllers (the hip, the left leg, the right leg, the toes, the heels, the ball joints, etc.)
In each key-frame I adjusted the translation, rotation and scale values accordingly. I used Shift+W, Shift+E and Shift+R hotkeys to set the translation, rotation and scaling values for each key frame respectively. I added key frames near the starts and the ends of movements to keep the look realistic. Using the timeline editor, I moved frames and even spread out the distance between frames from the technique I learned from the tutorial.
Remember to add extra frames near the beginning and end of keyed frames to account for the interpolated frames determined by the graphical pipeline in the computer (in MAYA)
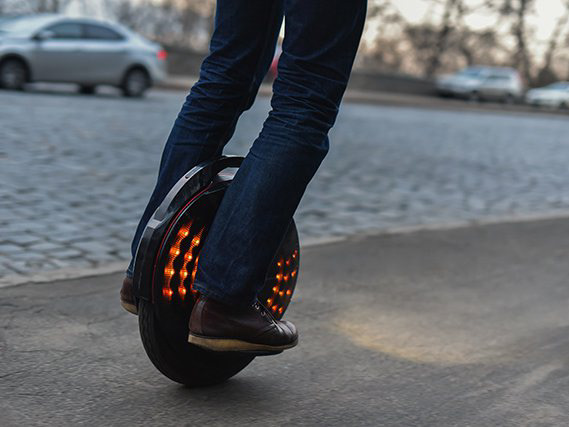
I made use the 'copying and pasting frames' technique whenever I wanted to repeat certain animations and reuse specific position/rotation and scale values. Additionally, I used the ghost and motion trail path tools to visualize the animations when adjusting the positions of the unicycle.
To animate "Mustache Marshall", I created a walk cycle by key framing and animating each individual controller for both his legs. The controllers I animated included the feet, the knees, the toes, heels ball joints and the hip. Notice that his walk includes a subtle hip movement to add to the dimentionality of his walk rendering it somewhat more realistic
The last part of the animation involved setting up a camera and moving it around to give you different viewing perspectives as the animation proceeds. This takes patience and will have to be done once the entire animation sequence is done. To do this, create a camera, render the view of the camera while you are animating to make it easier to understand what exactly the camera is going to be looking at in your final animation sequence. Finally, once the entire animation was done, I play blasted the animation and the movie was ready.
However, play-blasting doesn't render the best quality and doesn't account for Arnold textures and lights to be rendered in the generated animation, so you might need to render image frames and then stitch them together.
Bear in mind, I also rendered each frame and took all these images and compiled them into a video too. Below you can find both, the play blast animation and the rendered animation too.
Shading and Texturing:
I shaded different parts of the environment with custom created Blinn, Lambert, Phong and Arnold shaders. I created appropriate shaders for other objects in the scene as well. These include the paint bucket, the billboard, the garbage can, the house and its garage ( was already done partially), the lampposts, and the phone booth.
Some of the objects required image textures instead of creating shaders from Maya. These objects include the wooden plank, the coke can (I utilized a can that was already textured), the barrel and its faces and the mighty billboard screen.
I made extensive use of the UV editor to adjust the texturing on the plank and barrel surfaces. With the UV editor, you can select, move, scale, and generally modify the UV topology for a surface selected in the scene. It also lets us view the image associated with the assigned texture map as a backdrop within the UV Editor and modify the UV layout to match as required.
Now to that brilliant billboard screen. To play a video on that screen , I created a plane and added a Lambert material to it. I chose the color to map to a sequence of image files for the video that I desired to be played over the screen. For this, I had to break down the video and down sample the video according to frame rate of the animation sequence I was generating. Long story short, trust me, this was one tedious process given the number of times I had to iterate over this process. But I now know how not to do it in fifteen different ways so that's time very well spent in my book :P.
Lighting:
Create light sources according to your requirements. In this animation sequence, I wanted to place emphasis on the street lamps and the billboard lights to emphasize the dark and dimly lit scene in the street in which our beloved Mustached hero is taking a stroll without a care in the world. To give it this vibe, I used spot lights for each street lamp and then adjusted the color of the light and other properties such as the intensity, cone angle, penumbra angle, etc. Bear in mind the lighting will show effects once each is frame is rendered.
Rendering:
I wanted my animation to look somewhat decent in terms of the image quality and hence chose to render with the Arnold renderer. I hence adjusted the CameraAA in the render settings and adjusted the number of samples removing some noise from the animation. I adjusted additional parameters like the Diffuse, Specular, Transmission, Ray depth, Light and Motion Blur parameters (all for slightly better quality, and more time :( ) and set the quality to be 1080p. The Rendering took for ever and so much computational power(listen to my talk and you'll know how), suffice to say I walked at least 5000 steps one night ( I had to render over machines located in different buildings on campus). I batch sequences of frames in different machines and after this compiled all of them (yes I deleted overlapping frames :P). Plan to leave at least one week for rendering if you are chasing a deadline- trust me, this is great advise.
Finally, I'd like to mention that as history always finds a way of repeating itself, it certainly did this time. I ended messing things up on this one. Attend my talk on Wednesday, 3pm at McAdams 110E (December 11, 2019) to find out how :P
Below are some of the frames that were rendered for this animation.
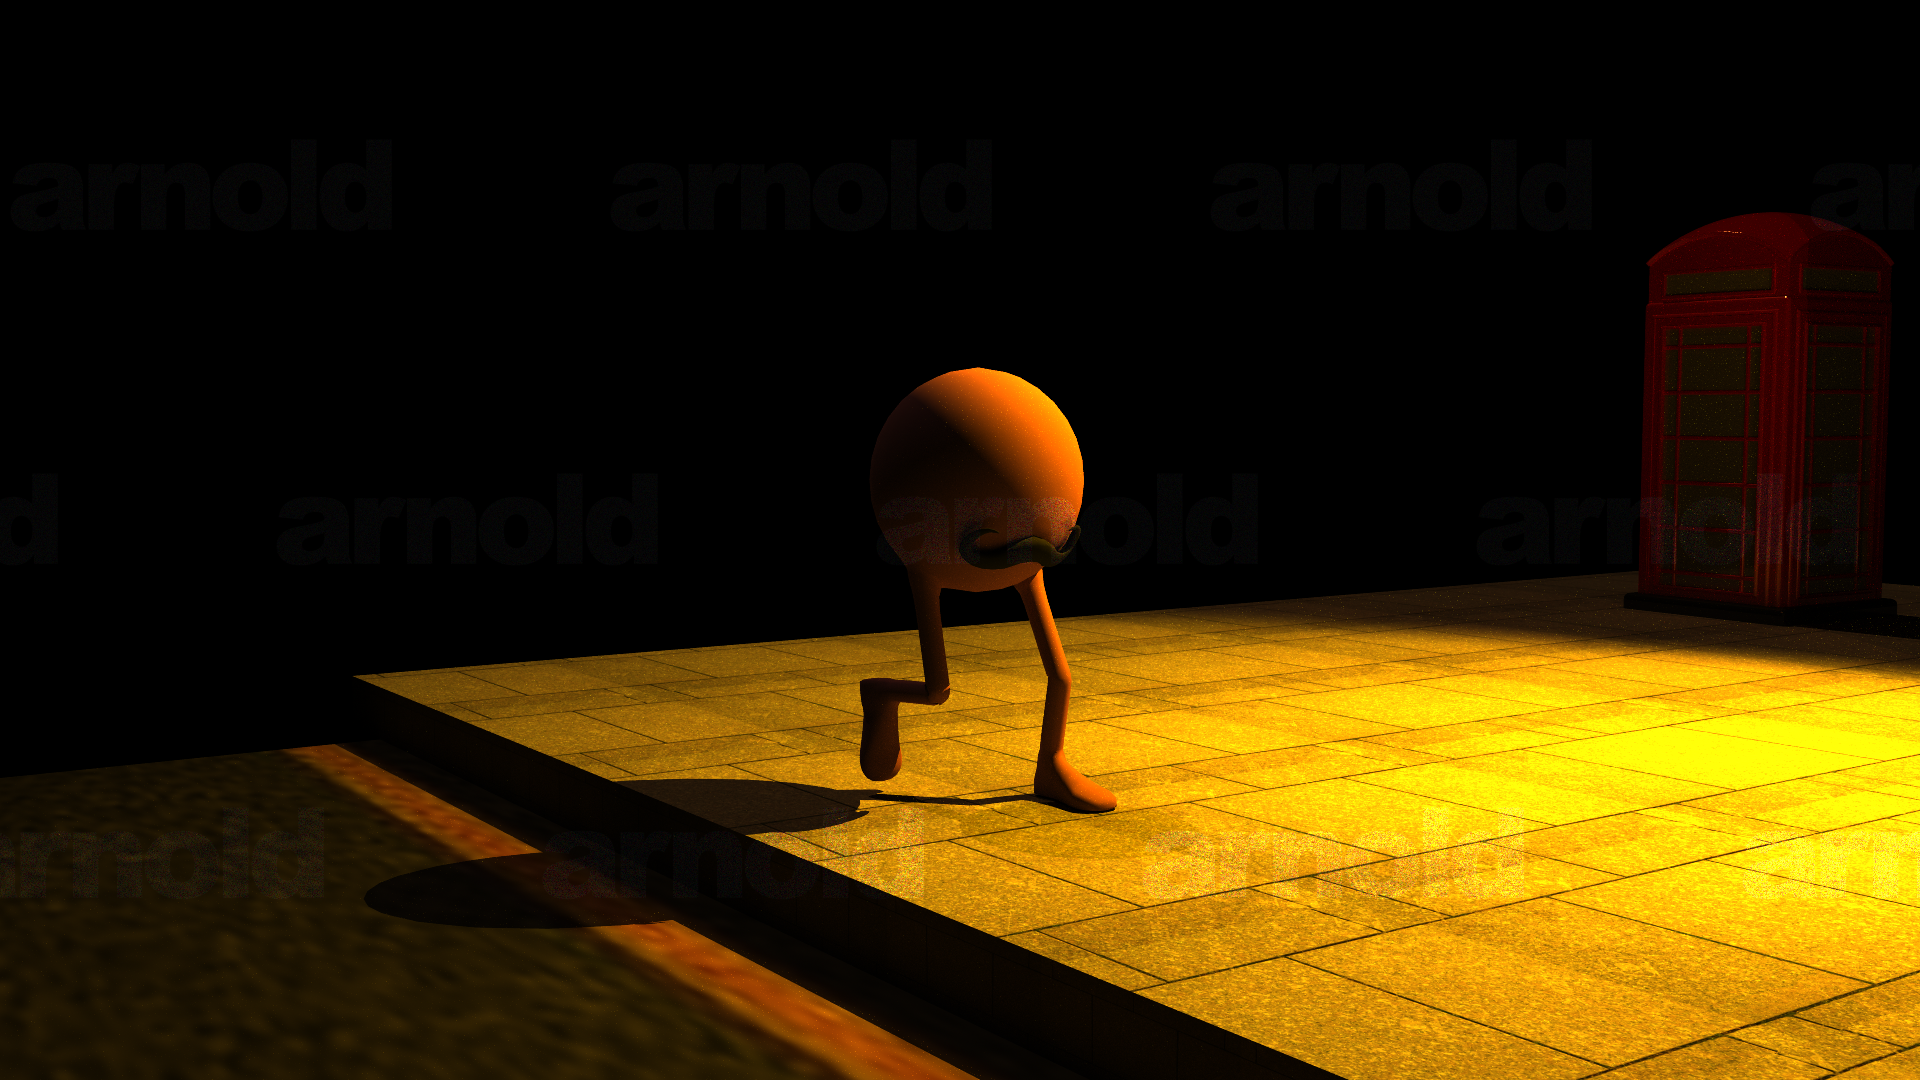
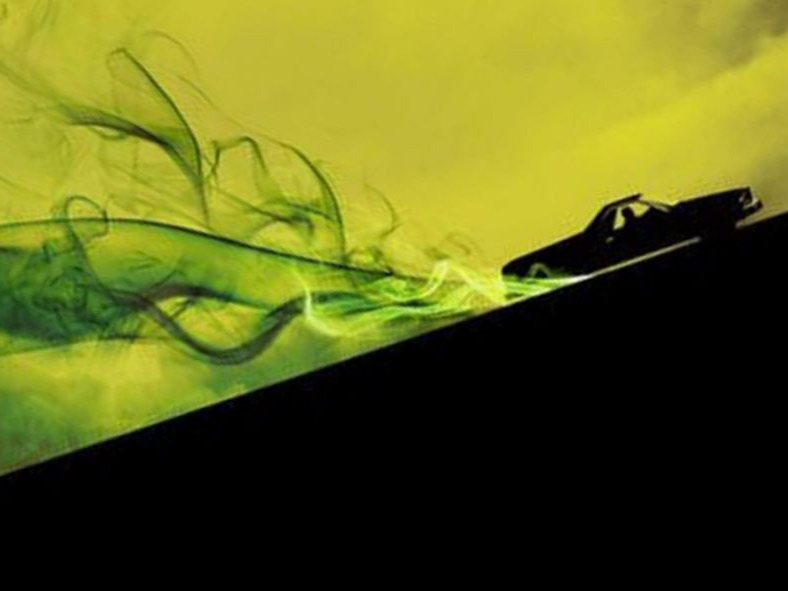
A dark alley with an even darker plot :P
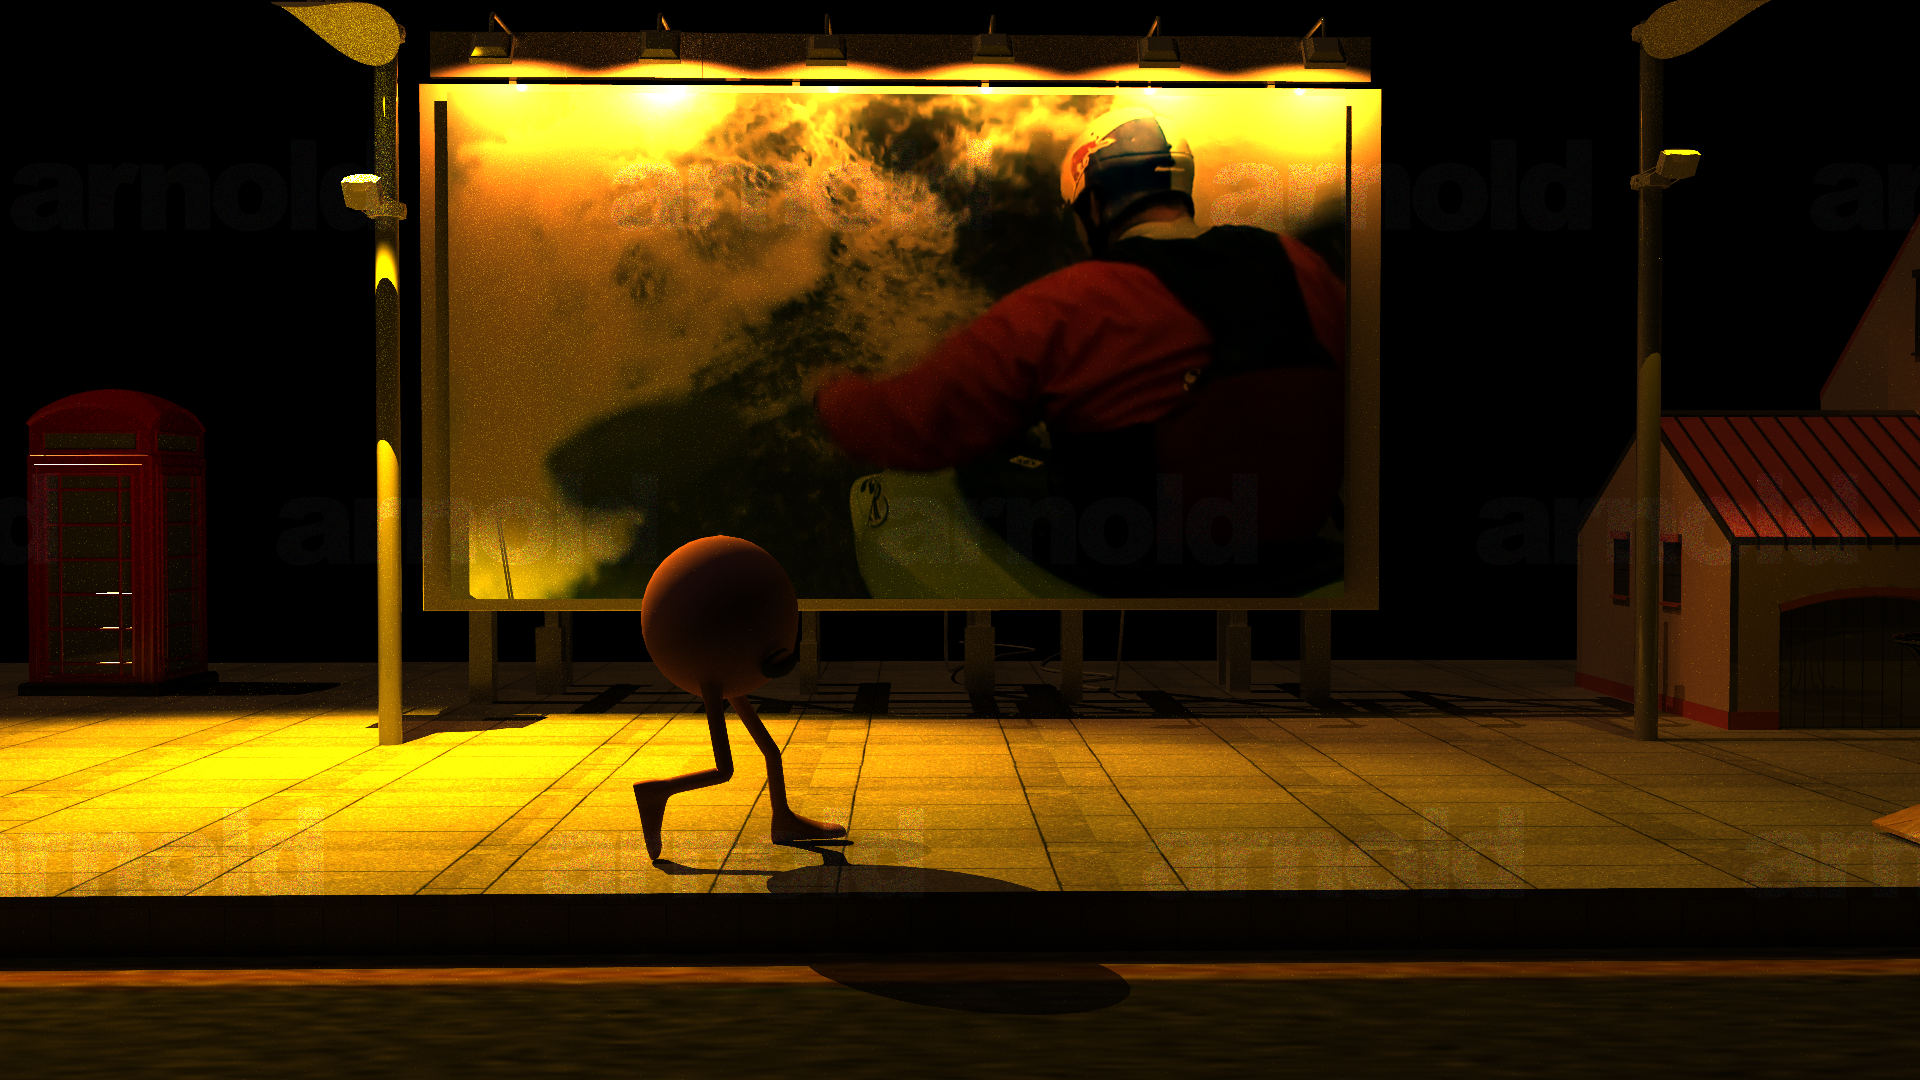
Mustache Marshall struts his way past the billboard
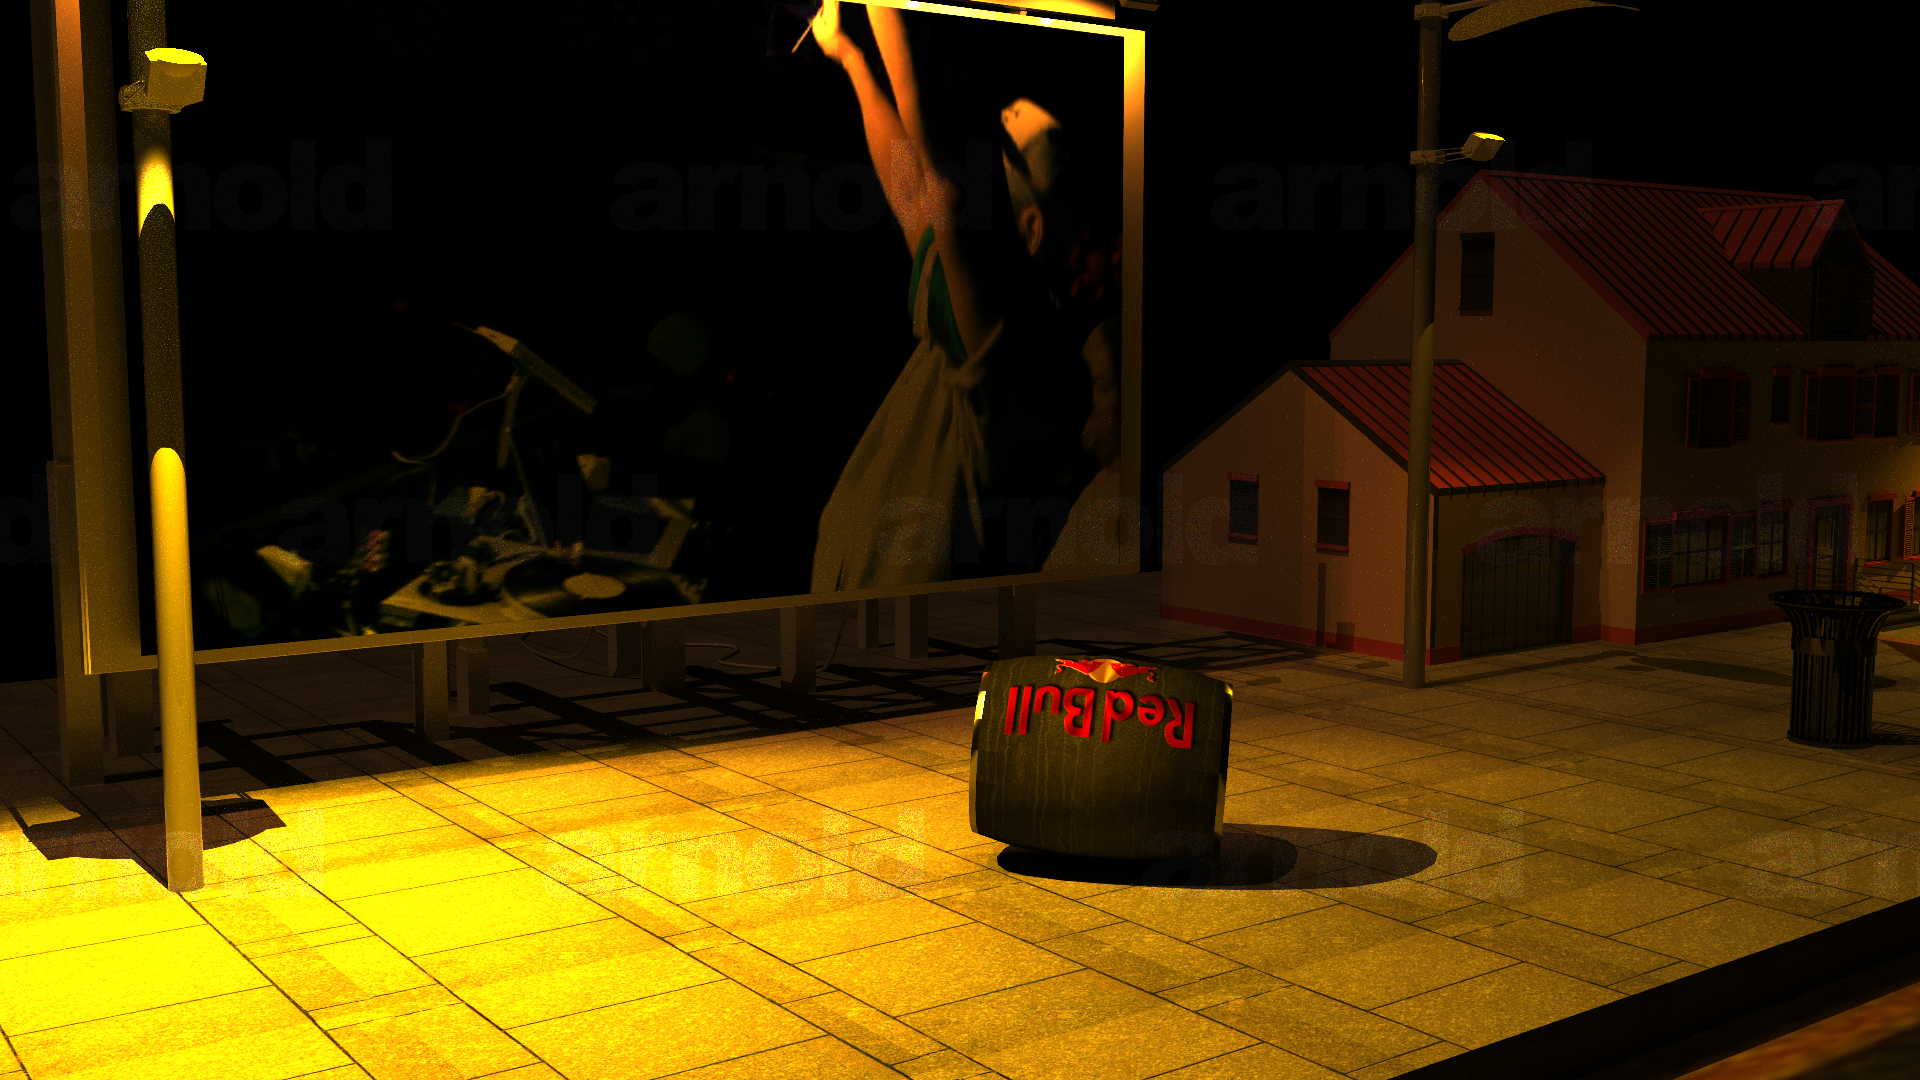
That Redbull Barrel
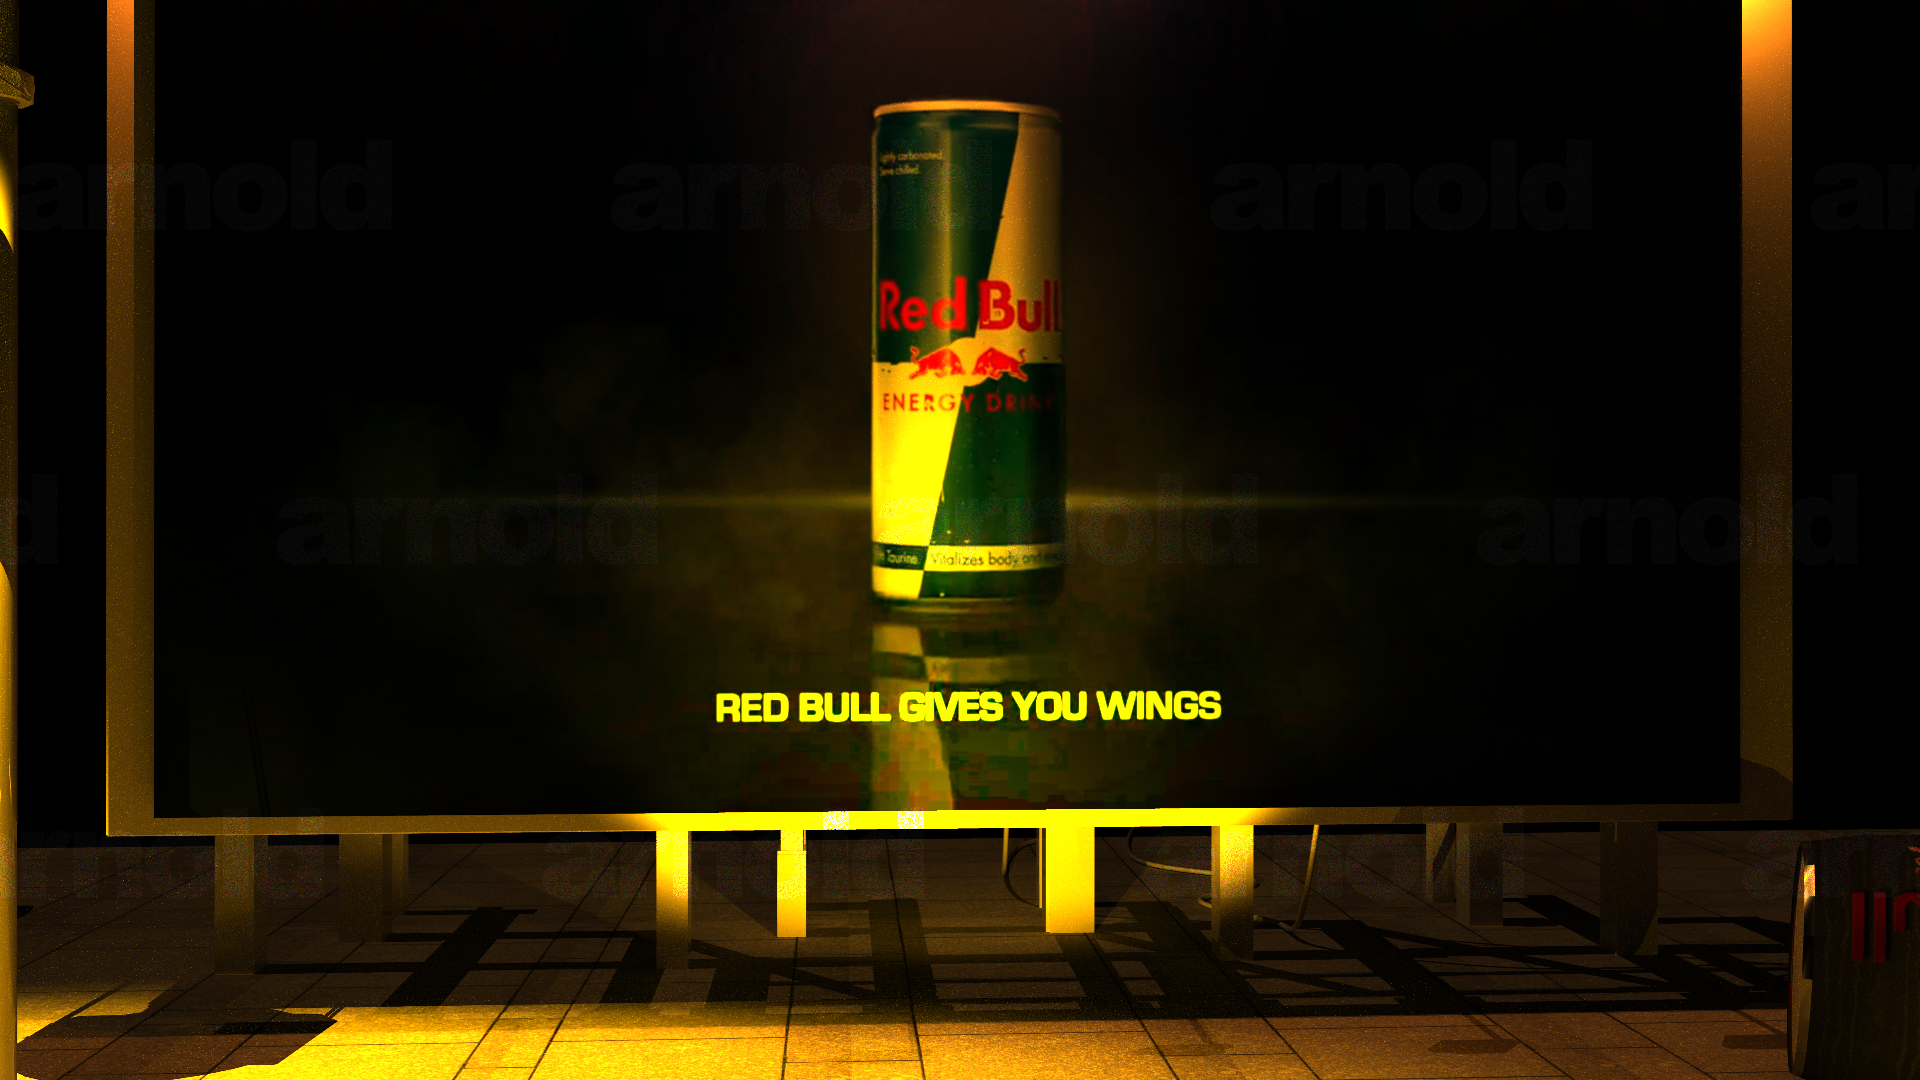
Advertisemesnt Slogan
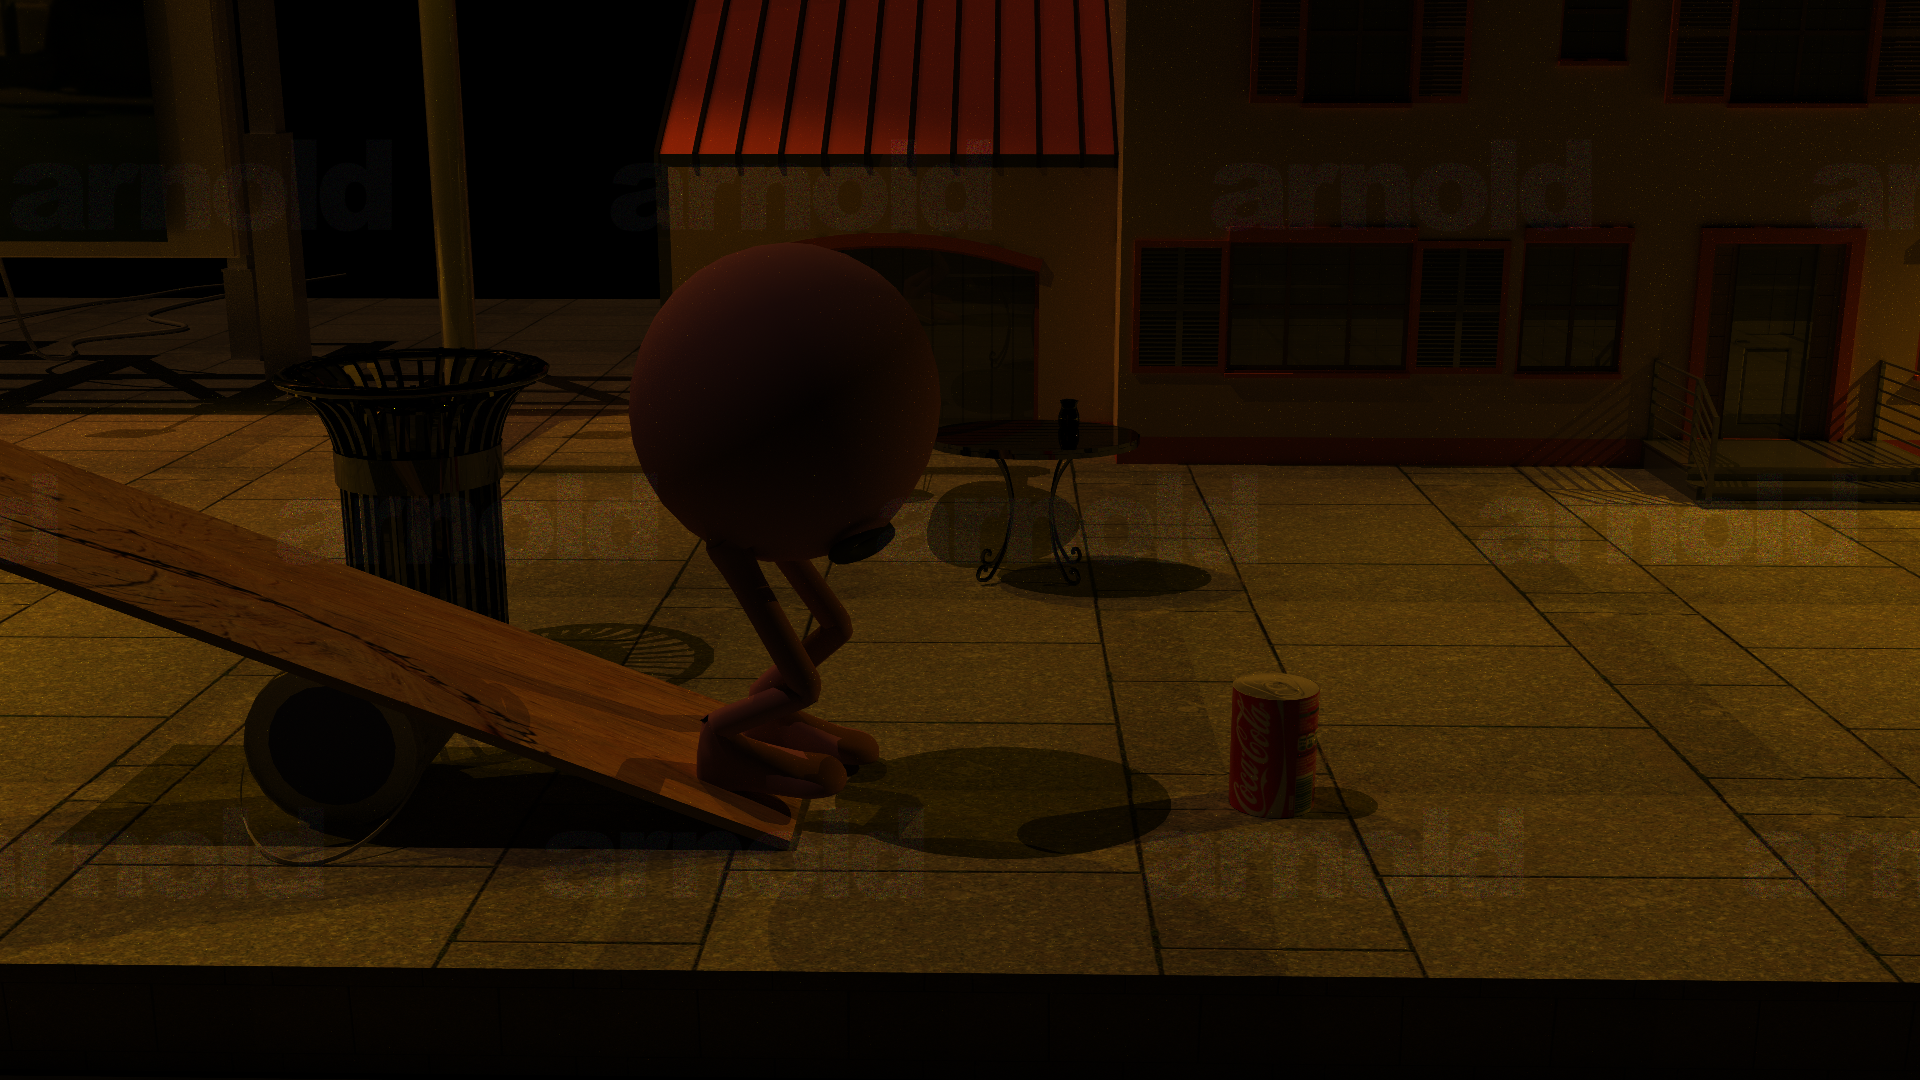
Mustache Marshall sees the Coke can and is excited
References:
[1] Turbosquid: 3D Models for Professionals
https://www.turbosquid.com
https://www.turbosquid.com
[2] Audio for Animation: Kanye West, Jay-Z, "No Church in The Wild.", Watch The Throne, Roc-A-Fella · Roc Nation · Def Jam, 2011