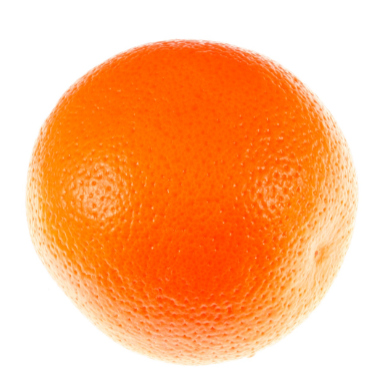
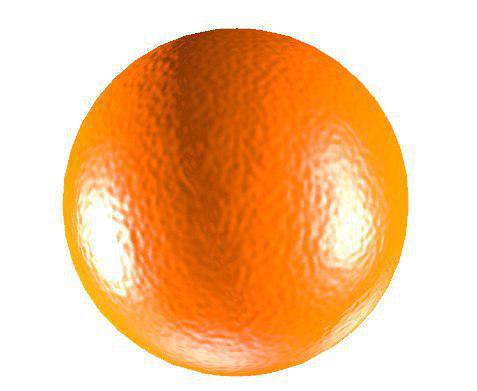
Reference Image Above
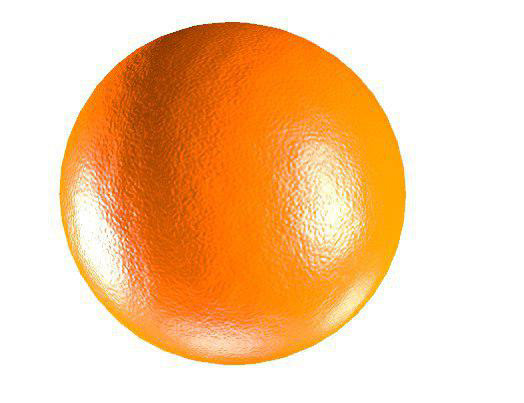
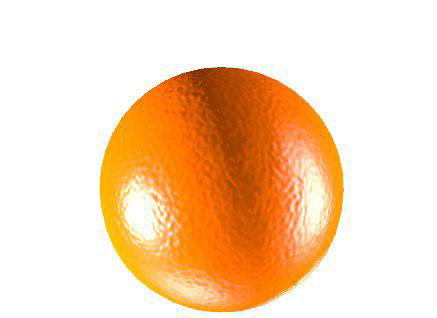
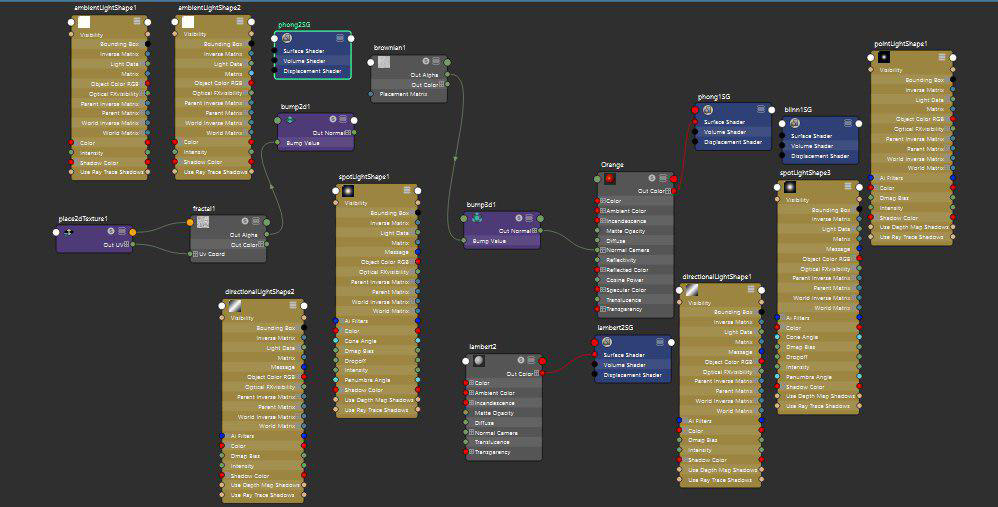
In order to create the orange, I first created a sphere. I made use of a PHONG shader. I sampled the orange color from the given reference image by using the sampling tool in the color palette window. I used this color for my shader. Next I added a brownian bump map to the the sphere to help it resemble that of an orange's texture on the outside more so than a fractal bump map. After playing around and adjusting the parameters to look like the reference image, I started with the lighting process. I used a directional light and placed it as a key light on the left hand side, while adding a fill light on the right hand side following which I added a back light. I added spotlights and adjusted parameters like the 'penumbra angle', 'angle of cone', etc. to make the model look like the reference image. Essentially, I used a combination of all these lights to illuminate the object which I viewed and adjusted every time based on how the render view looked. I made use of a large cube colored white to make the background/backdrop white as shown in the reference image.
Higher Lacunarity
Lower Lacunarity
Lowest Lacunarity
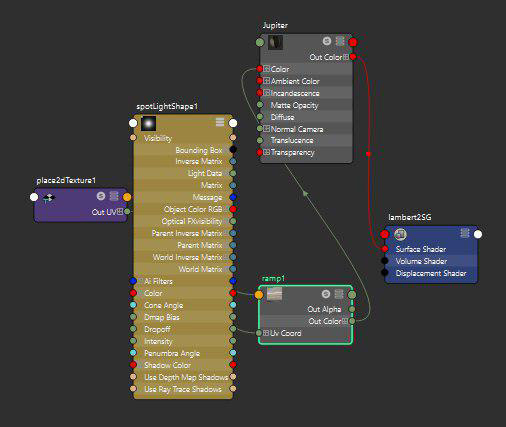
The following sections pertain to modeling the planet Jupiter
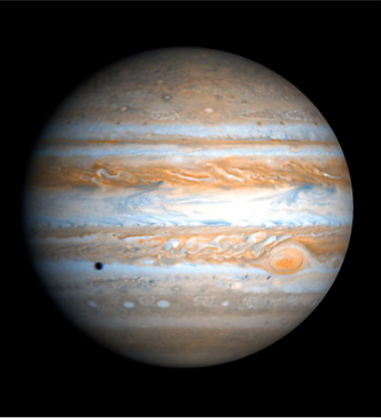
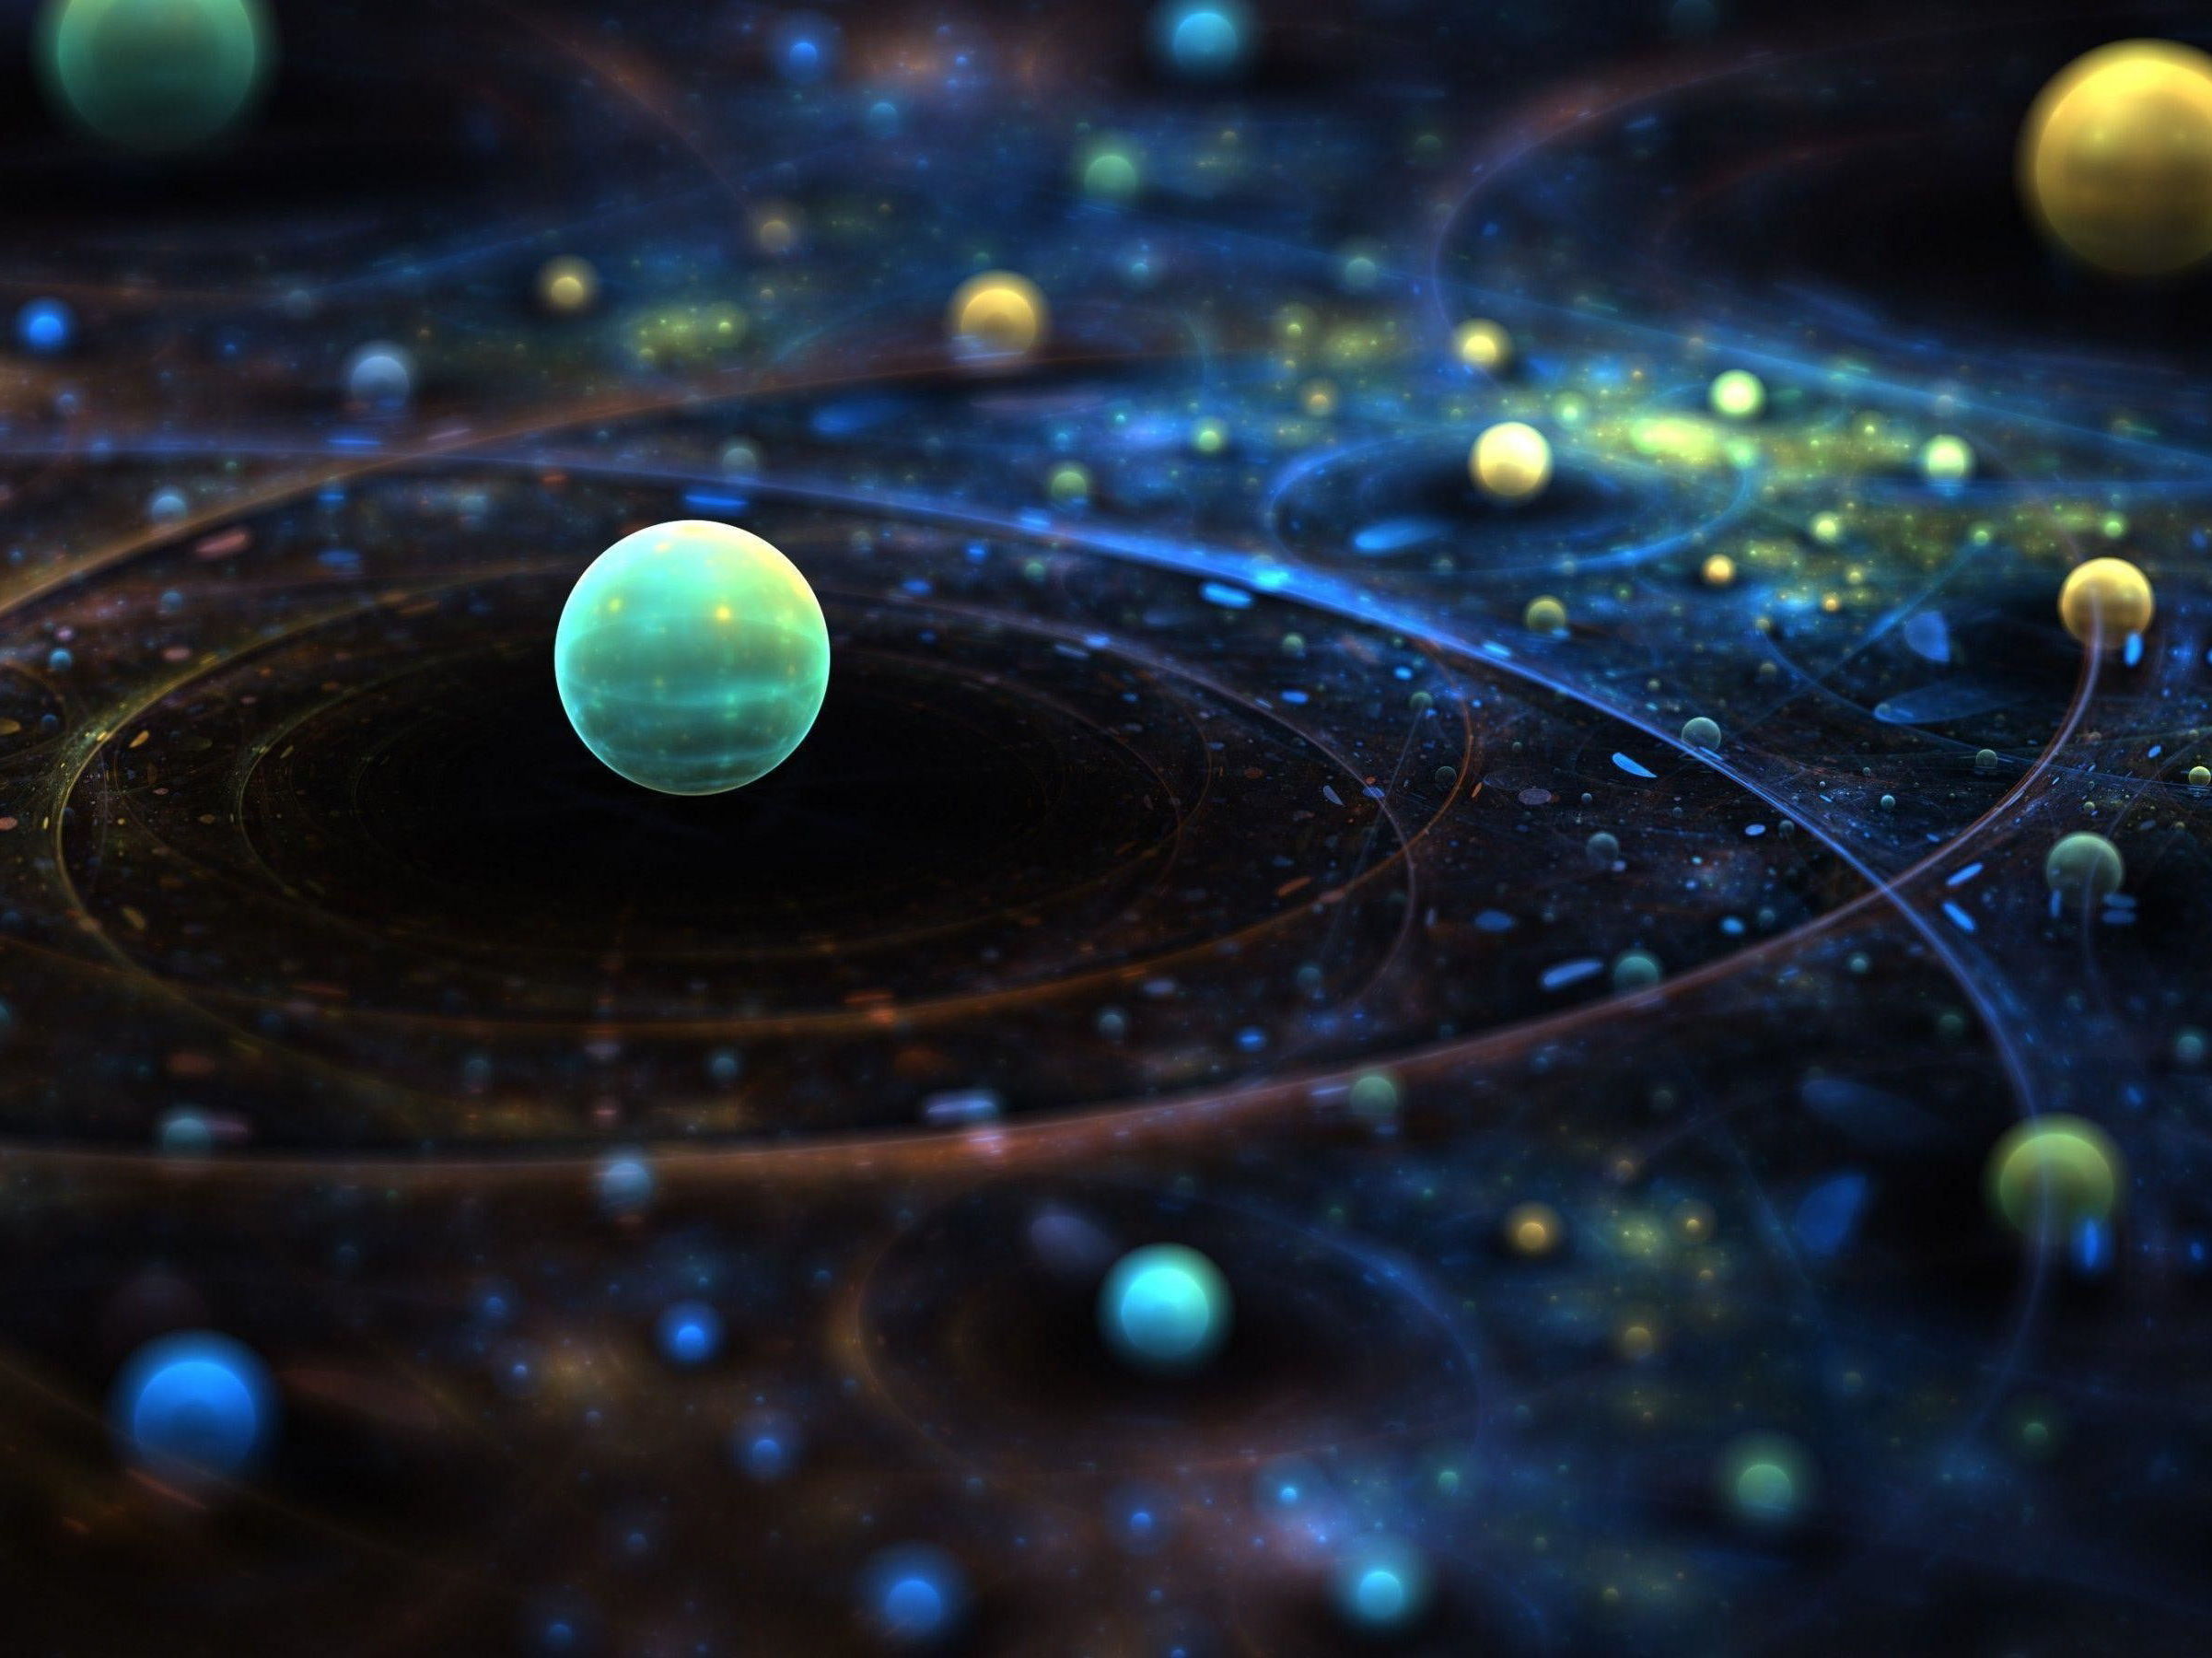
Reference Image Above
In order to create the Jupiter Planet like object, I created a sphere. Next I created a ramp shader on choosing a Lambert shader. In the ramp shader menu, I added each of the colors from the reference image into the ramp shader. To do this, for every single color, I created a separate level in the ramp and sampled every next color starting from the top all the way to the bottom of the reference image of Jupiter. I ended up doing this repeatedly also remembering to add noise to make it less uniform and a little bit more realistic. Next, I added one source of lighting (the sun) as the sole lighting object.
I used a second approach to do this more accurately, I downloaded a texture of the surface of the planet Jupiter online, which looks very similar to the one used in the reference image (maybe the same one indeed). I added this texture as a 'file' to a Lambert shader. Then I applied this to the object. This gave me better results as shown below in the middle image.
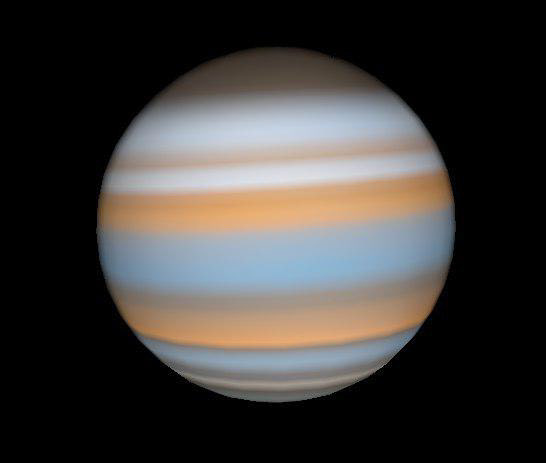
using ramp shader
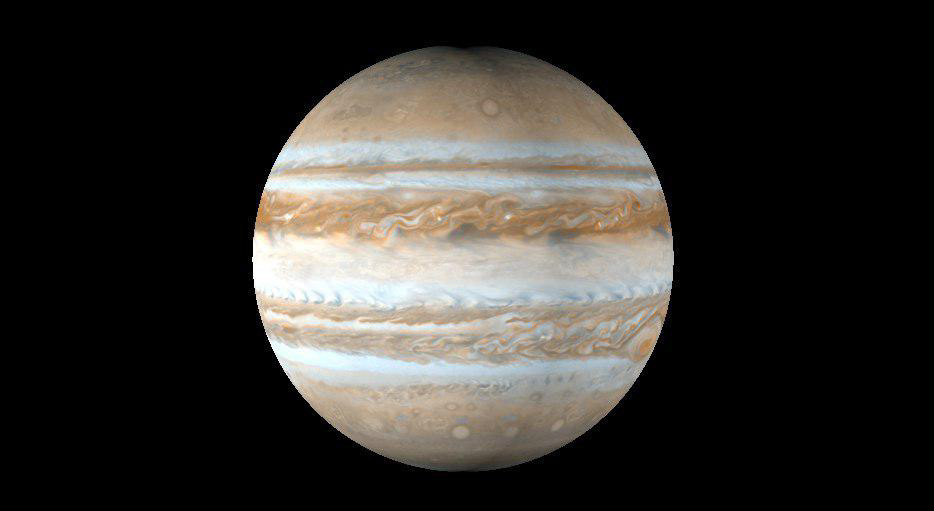
Using 2d texture