Here is a link to the Maya scene and the video
First I conceptualized the idea of my animation. I chose to give it a rough story in order to understand the kind of movements required for the animation.
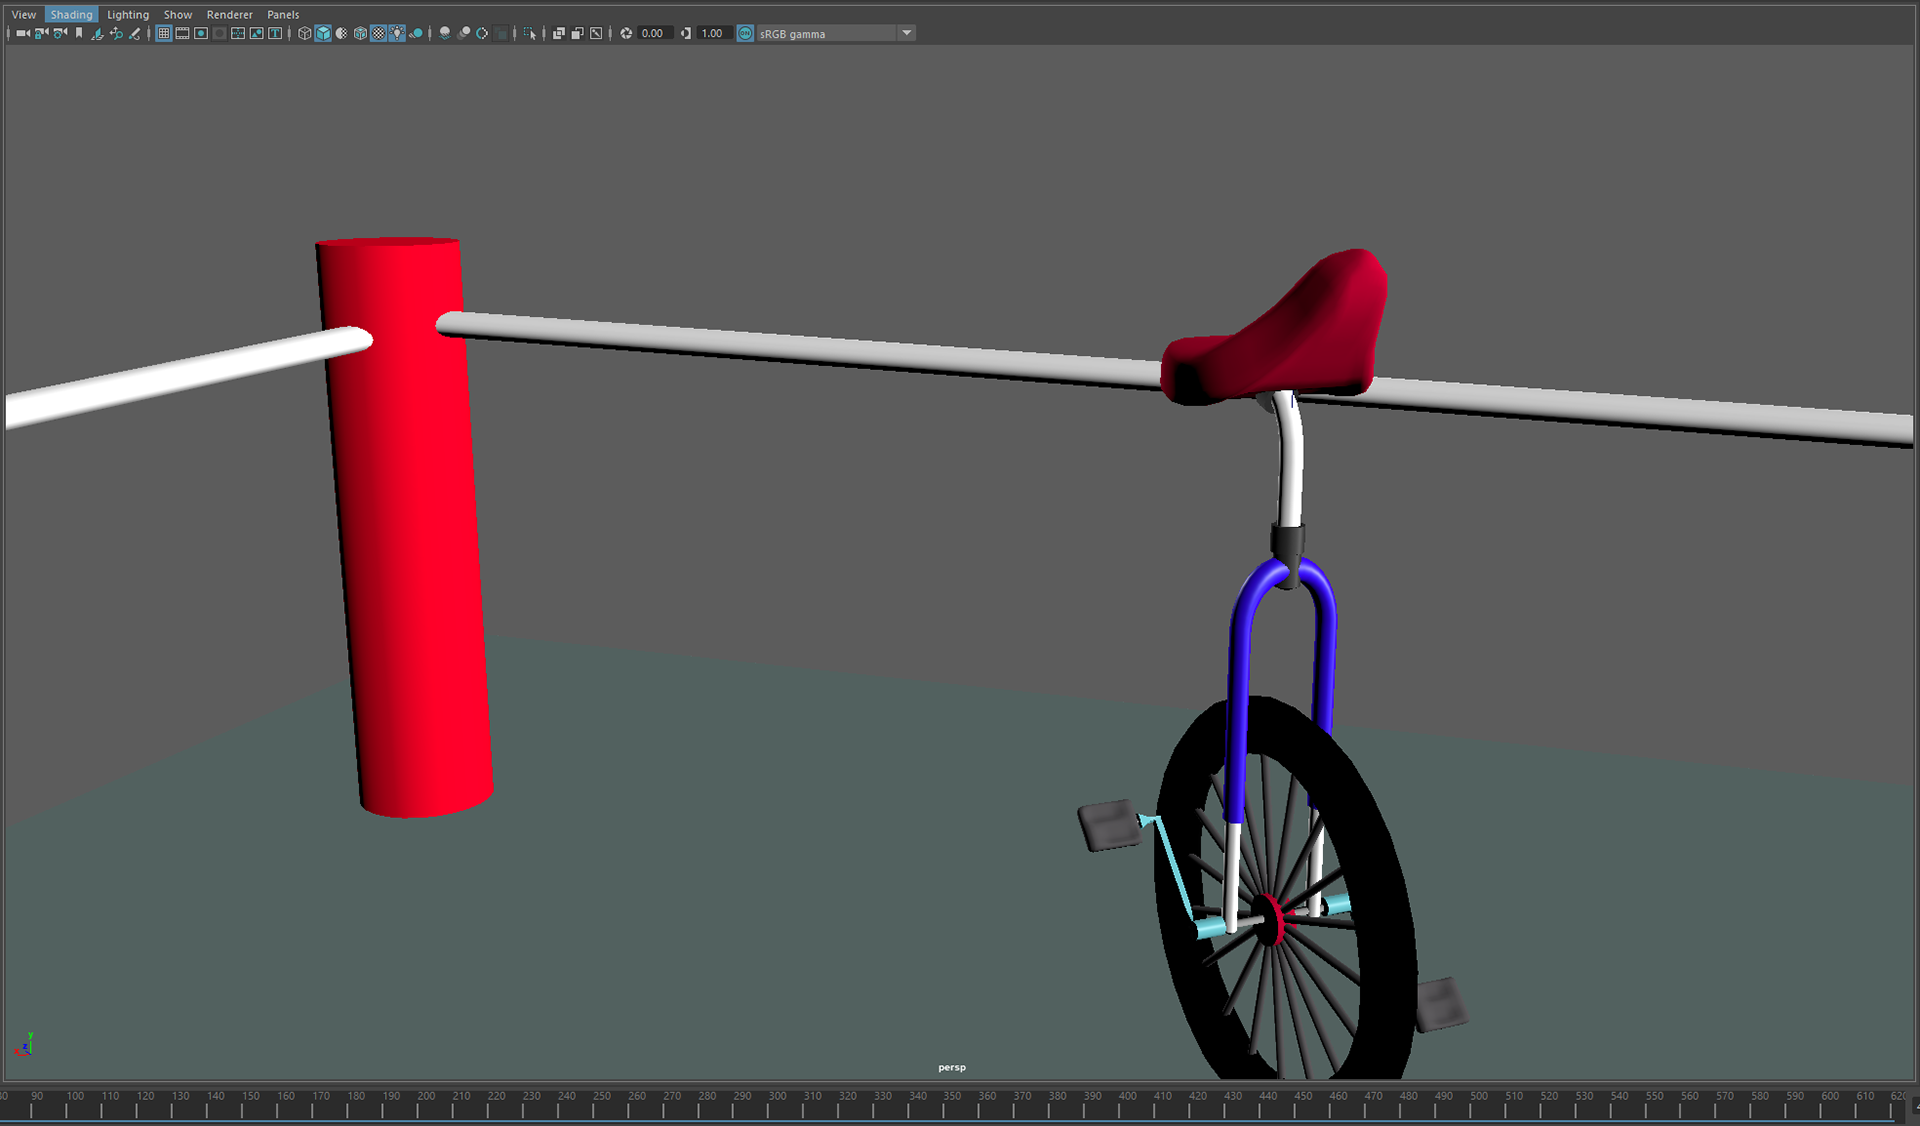
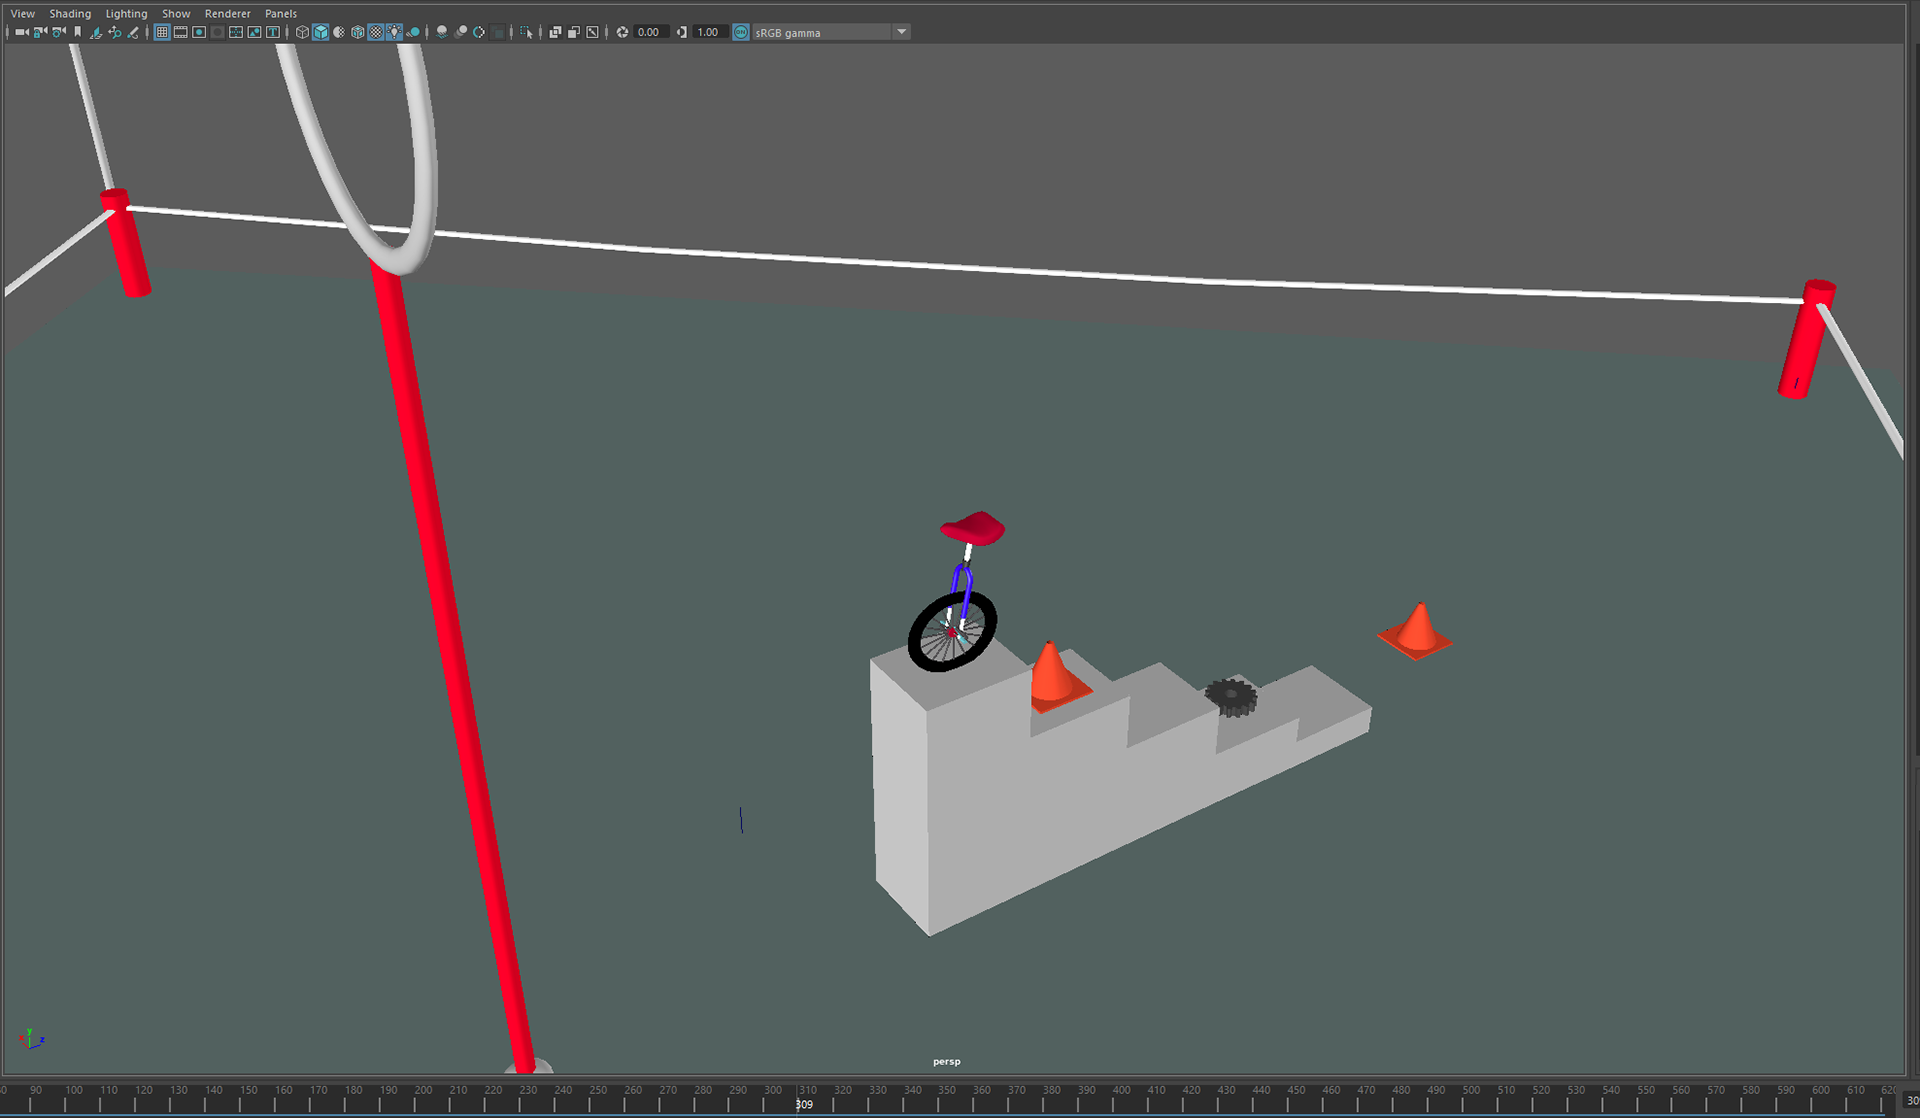
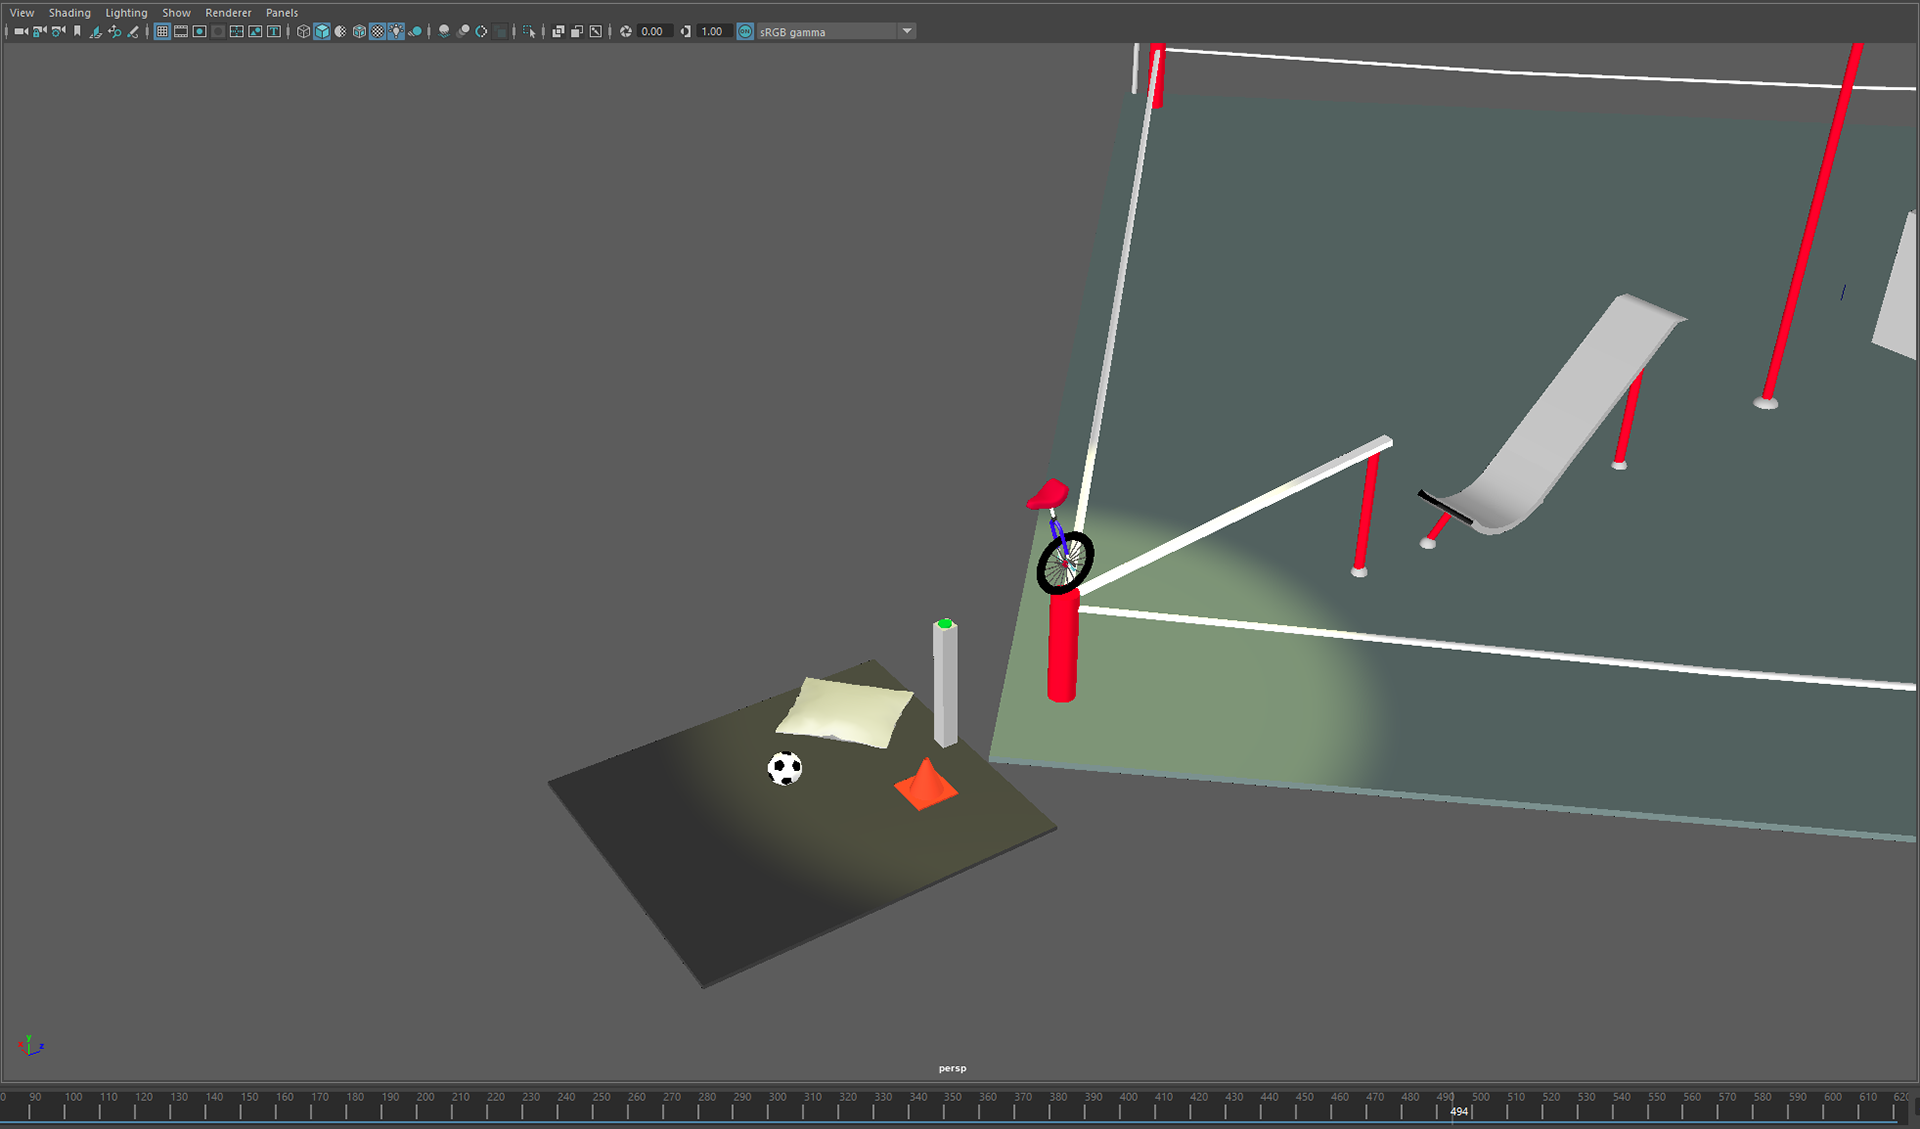
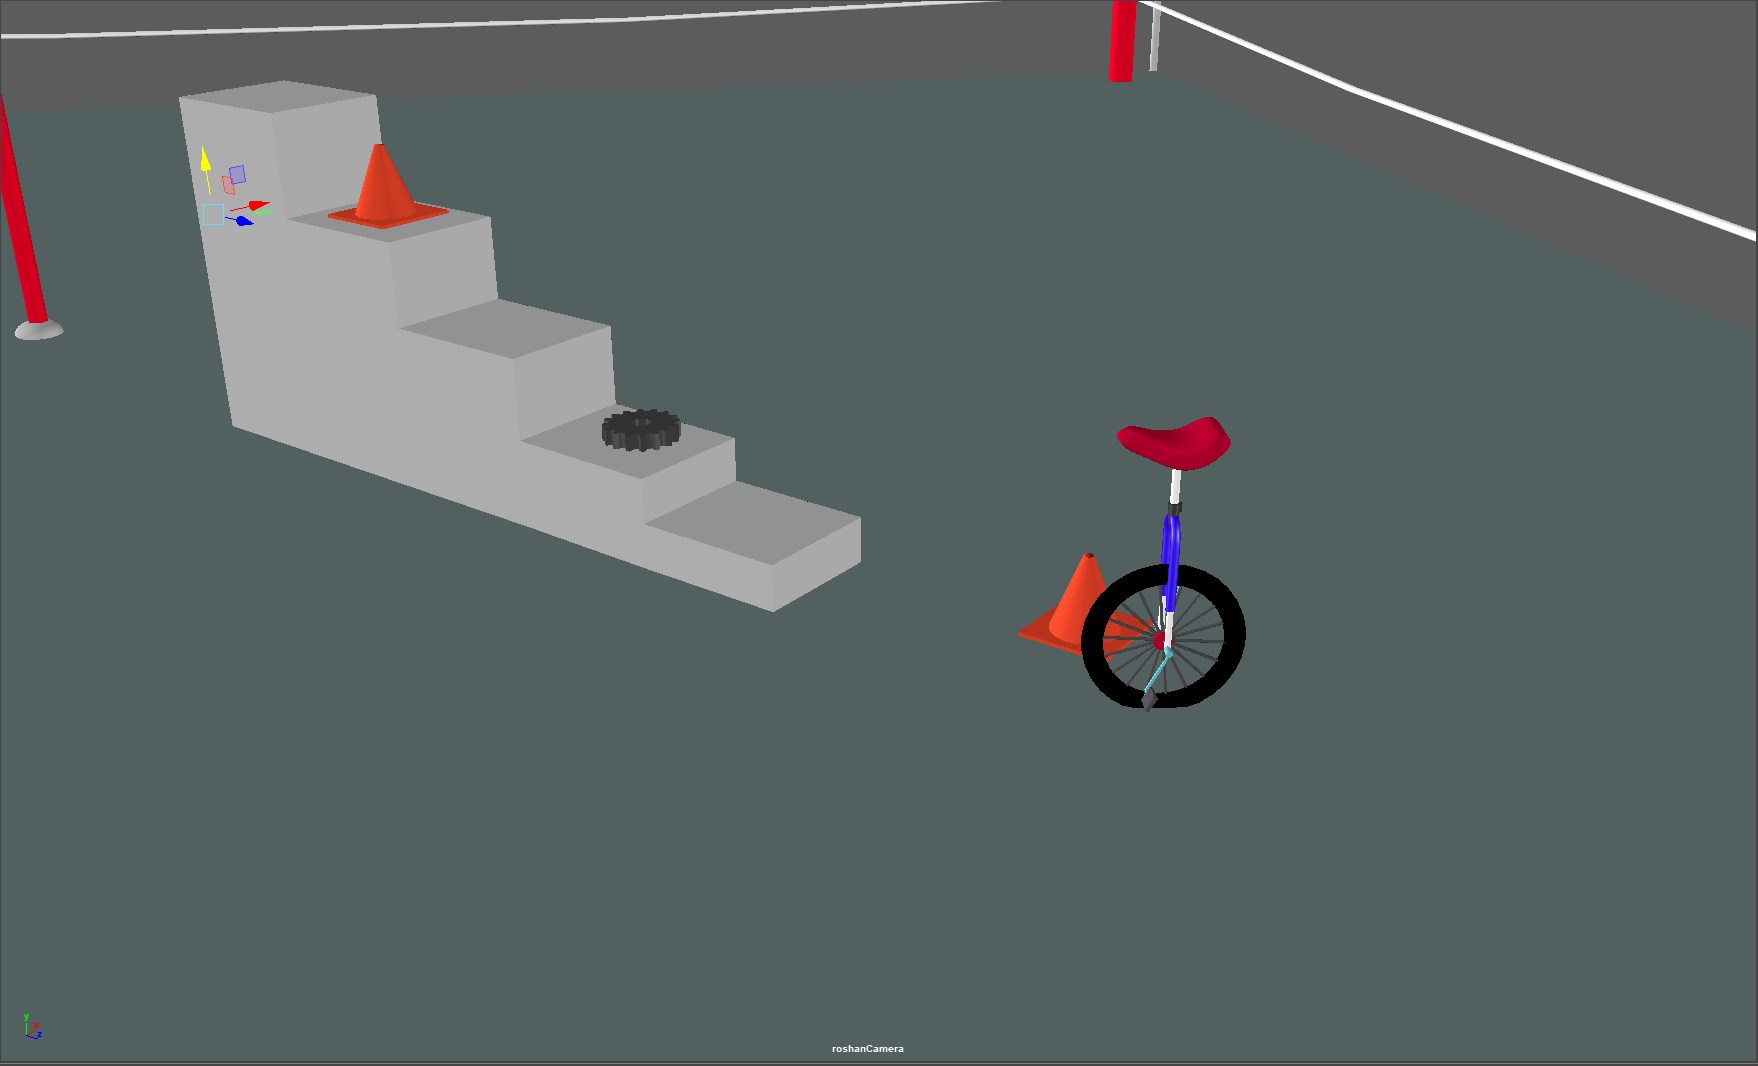
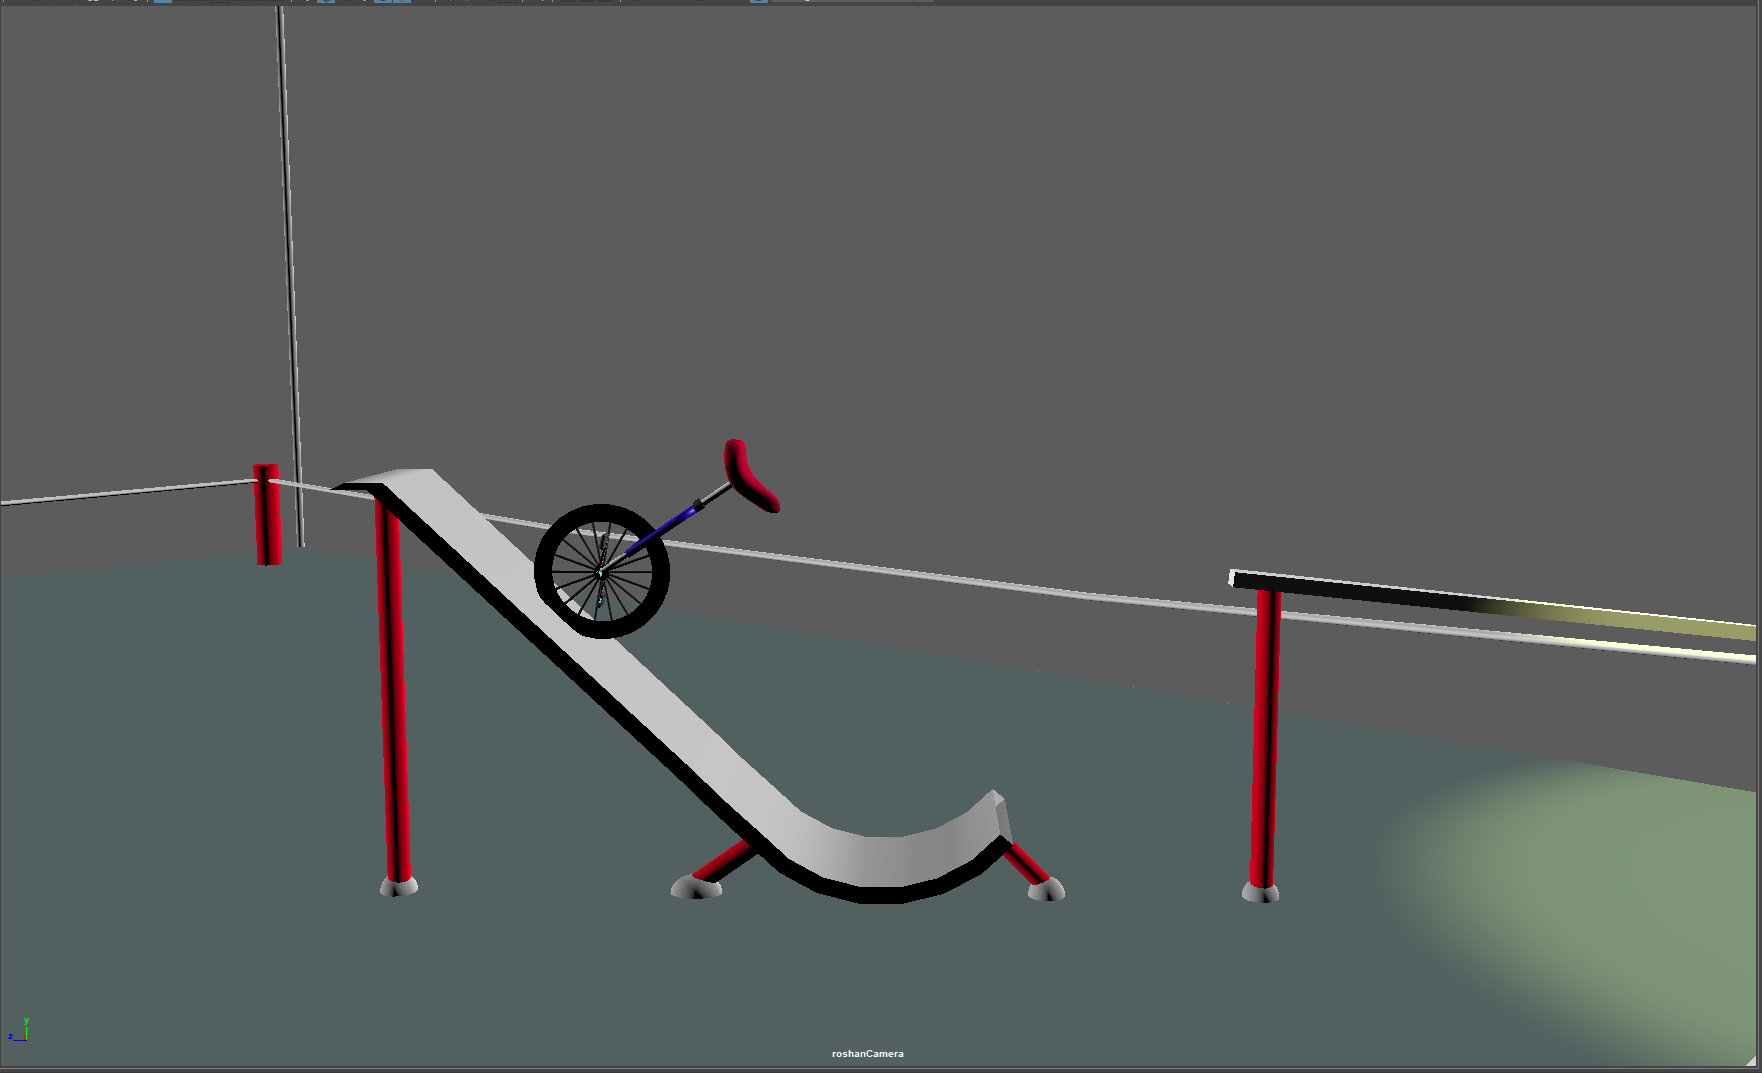
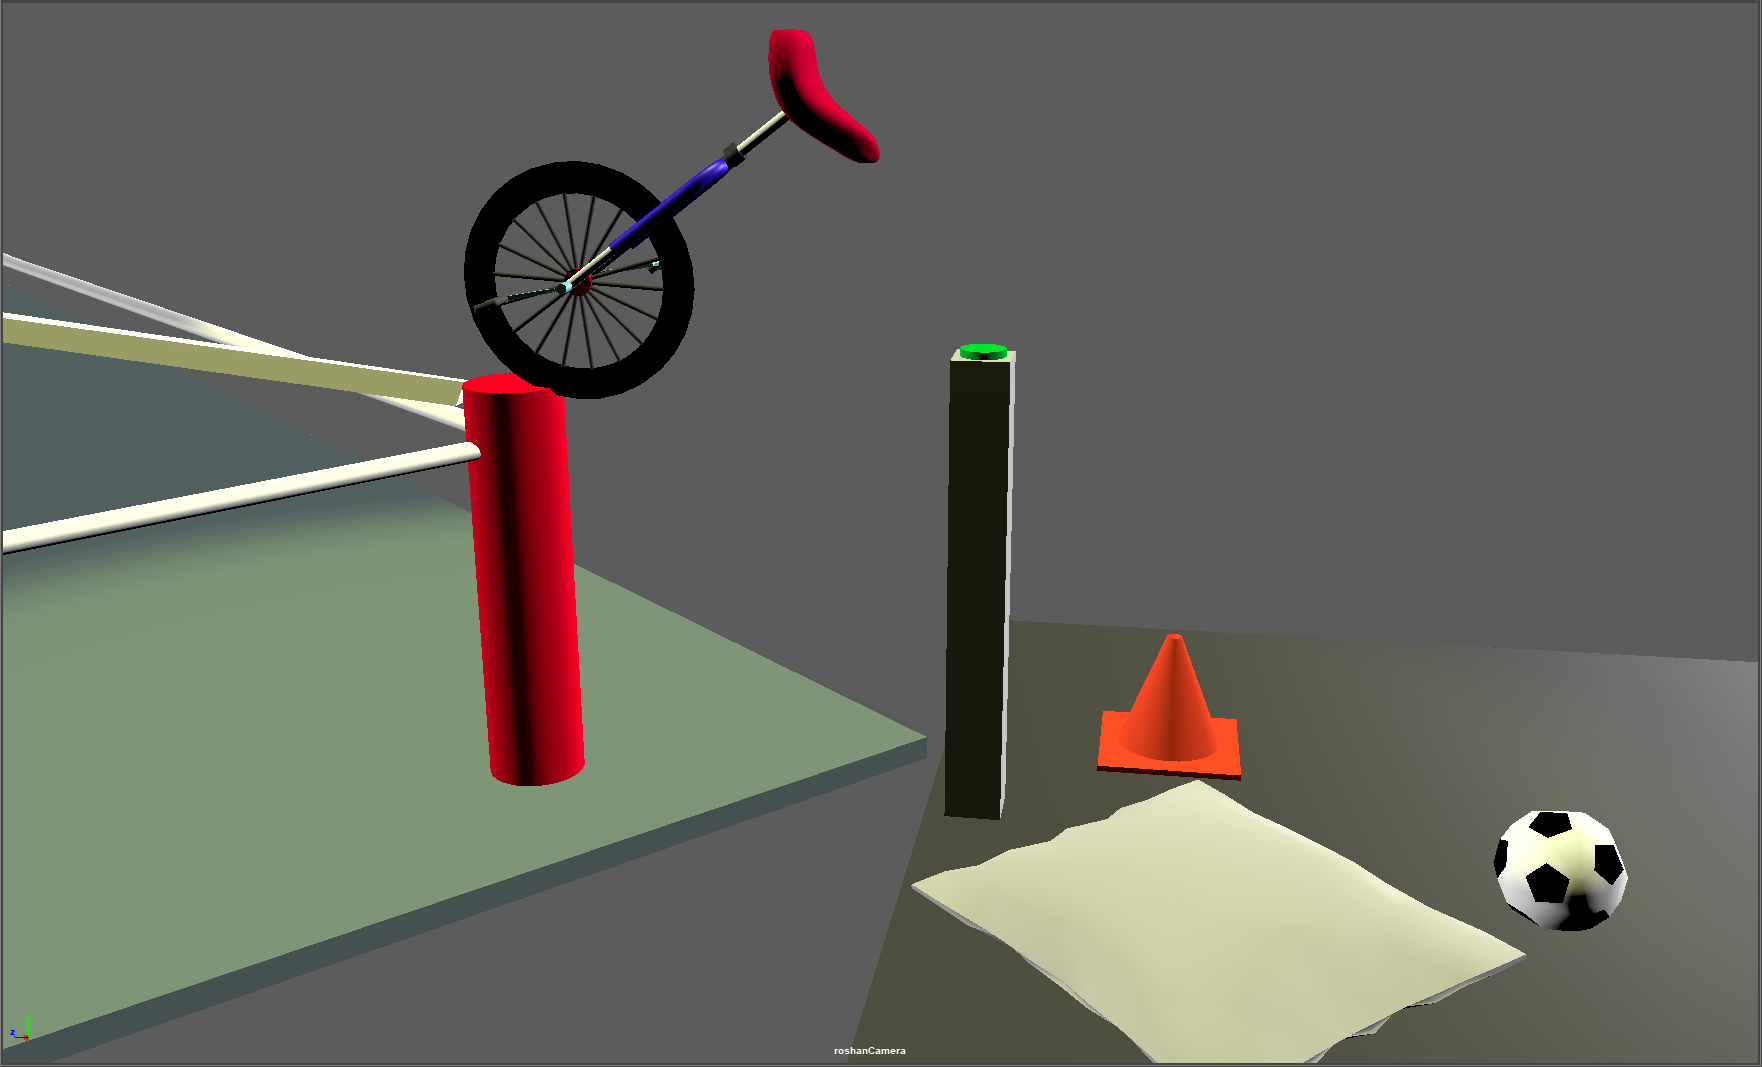
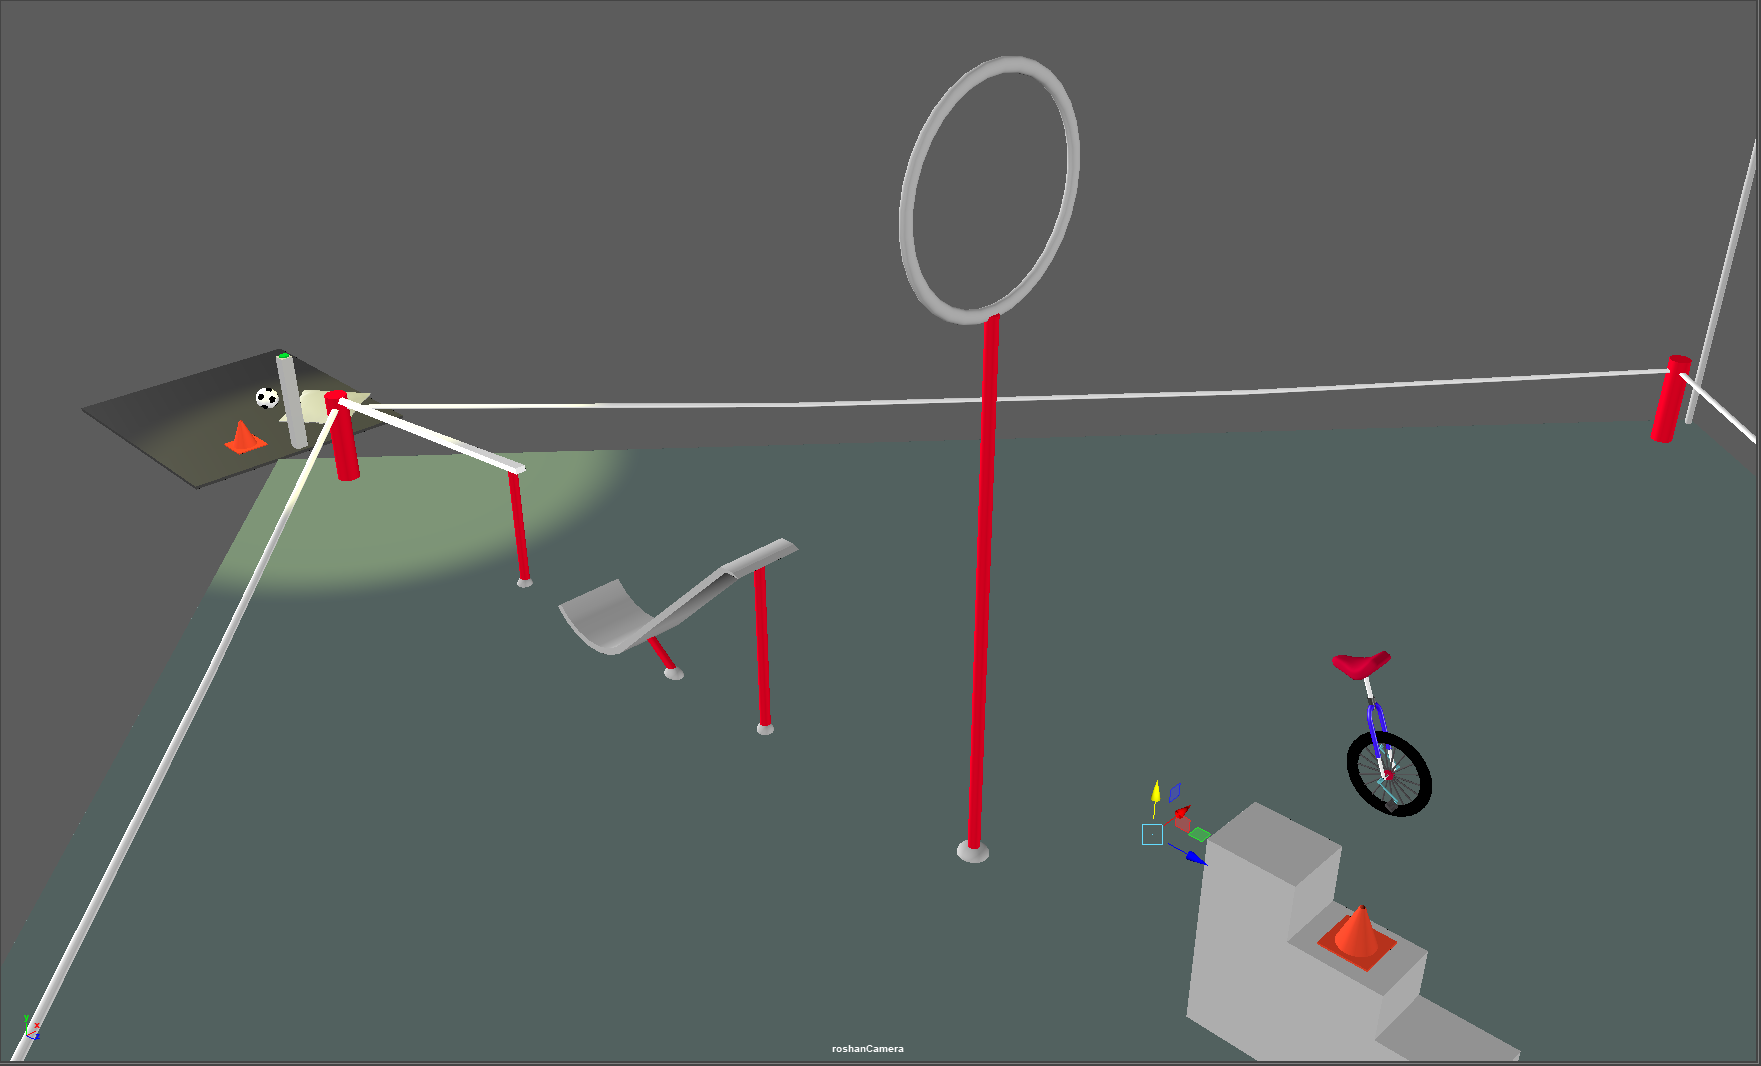
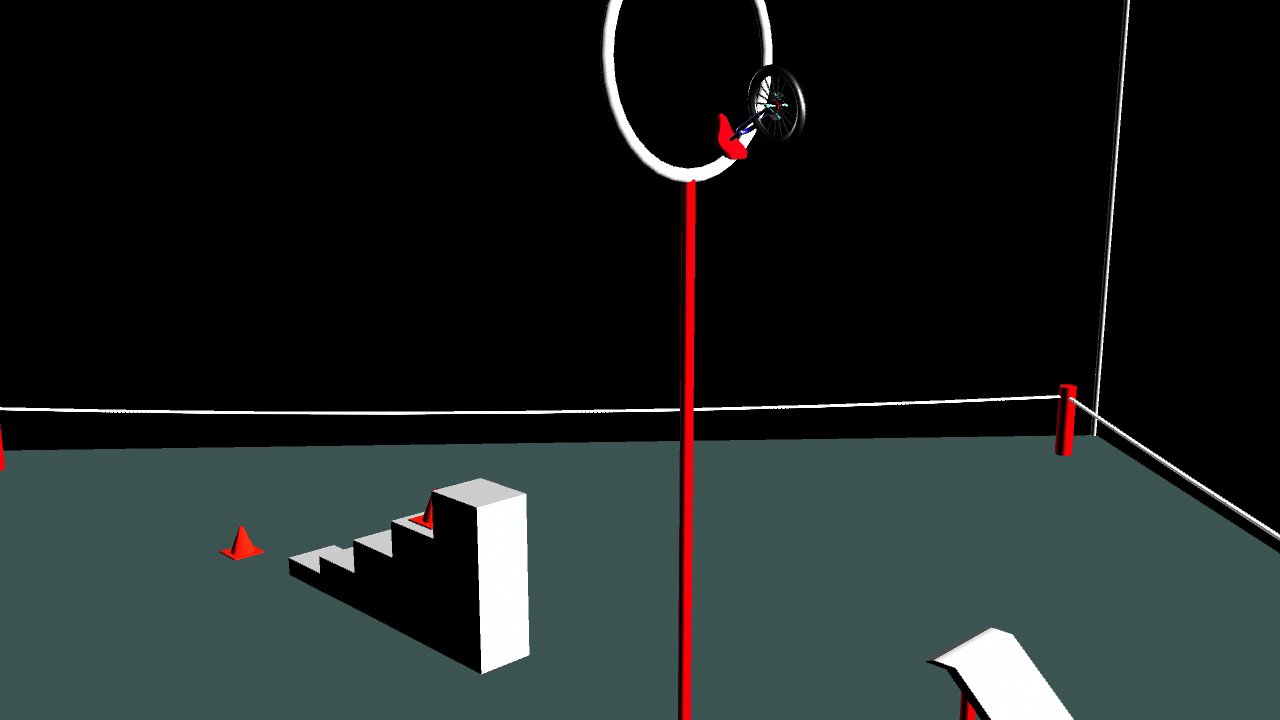
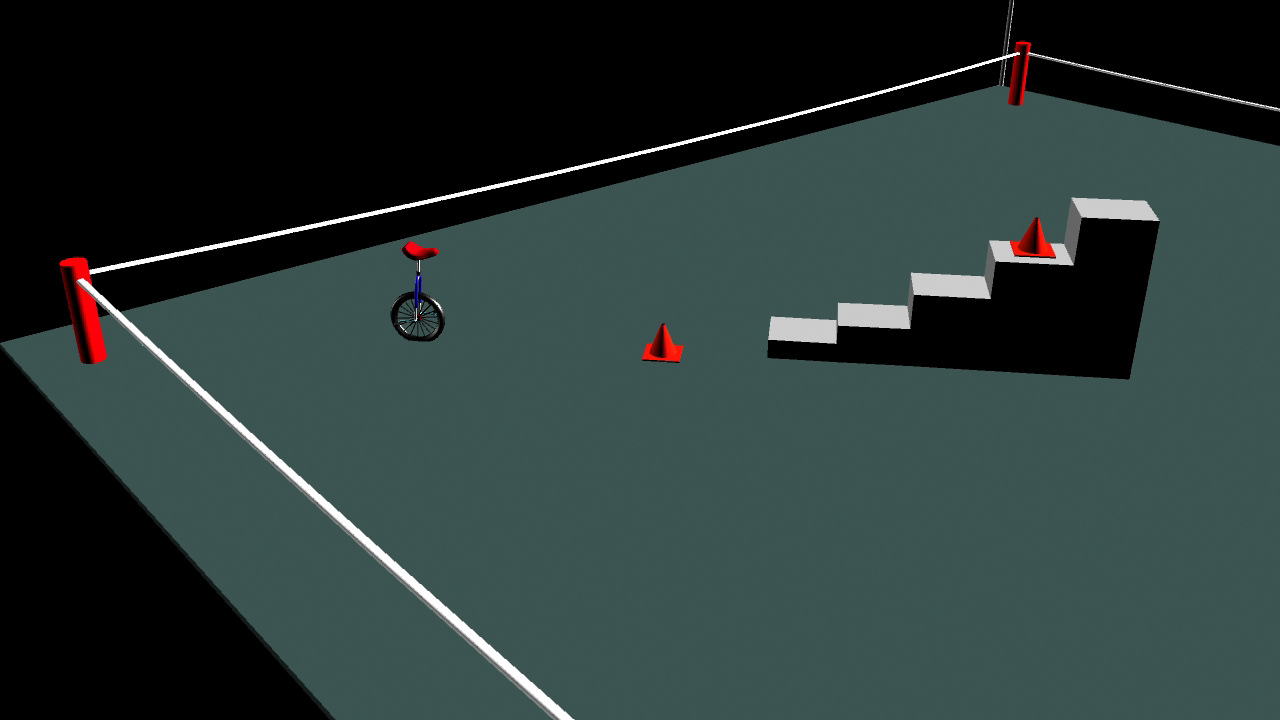
Story: Meet Psycho, a supremely talented Unicycle capable of impressing anyone. Watch him bring this arena to life. Psycho plays around the arena (what resembles a boxing ring) with some parkour objects like ramps, stairs. etc., added in to give dimensionality to the animation.
Modeling tasks:
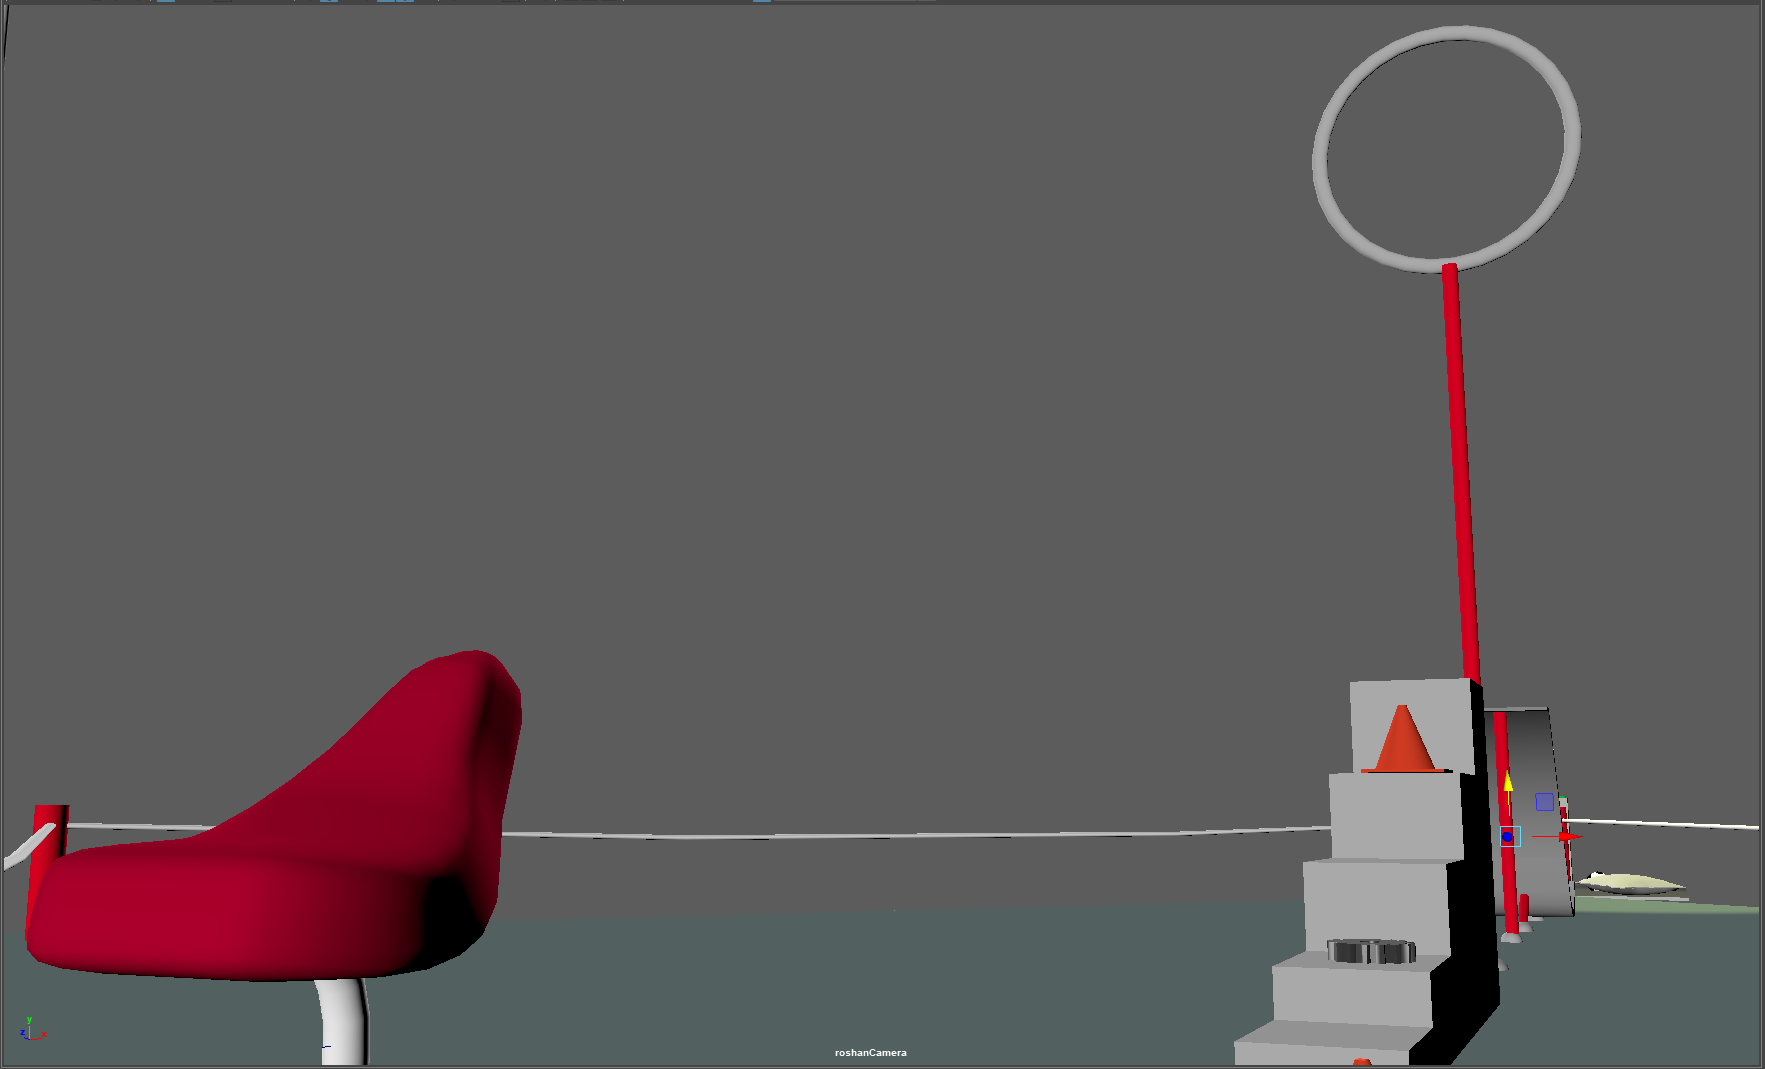
I modeled a simple staircase by creating a cube and extruding surfaces to create steps. Similarly I modeled ramps and hoops using polygon primitives like cubes, pipes and cylinders. I also made use of spheres to model a soccer ball. I made use of curves to create the cone by lofting NURBS circles like we've done before. In essence none of the objects in this scene were used from previous assignments, and were all modeled specifically for this project. Modeling the ropes that are tied to each corner of the boxing ring took some time to learn how to do. I basically used deformers and changed the lower bound and curvature values to fit the requirement of the rope.
I modeled a simple staircase by creating a cube and extruding surfaces to create steps. Similarly I modeled ramps and hoops using polygon primitives like cubes, pipes and cylinders. I also made use of spheres to model a soccer ball. I made use of curves to create the cone by lofting NURBS circles like we've done before. In essence none of the objects in this scene were used from previous assignments, and were all modeled specifically for this project. Modeling the ropes that are tied to each corner of the boxing ring took some time to learn how to do. I basically used deformers and changed the lower bound and curvature values to fit the requirement of the rope.
Rigging:
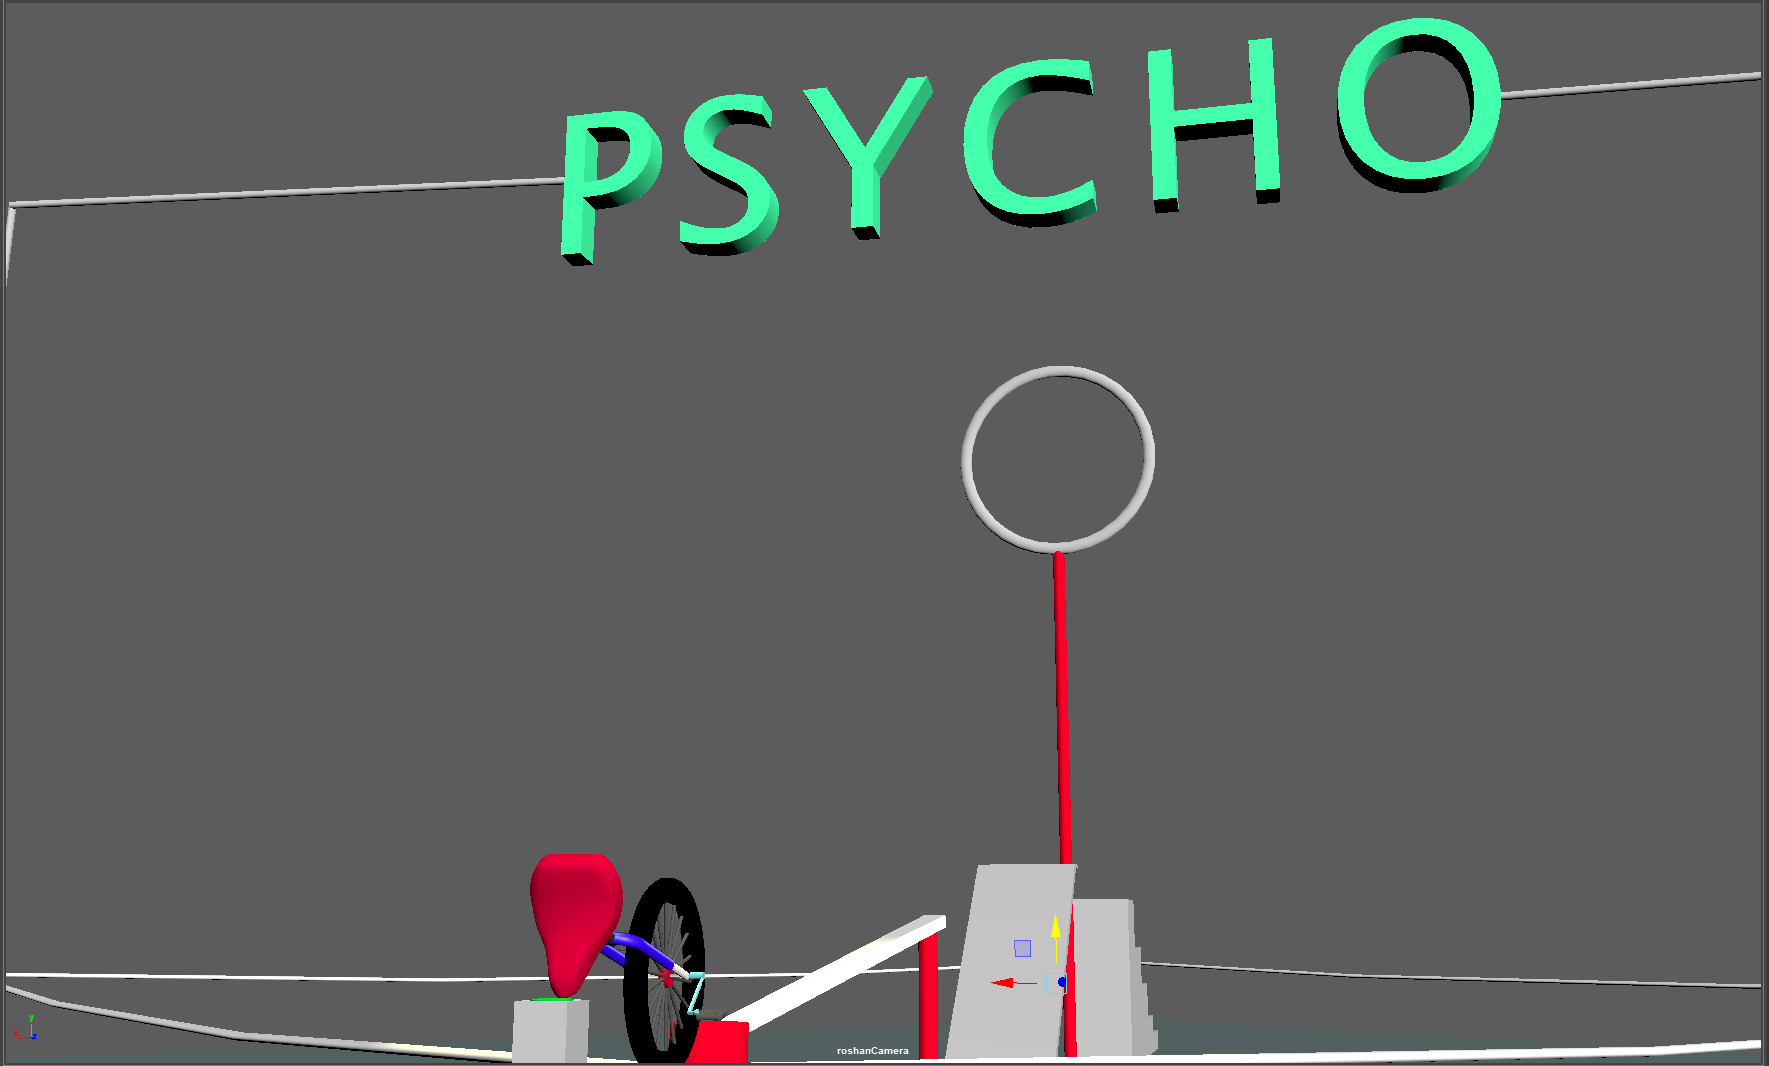
I created a rig for Psycho such that whenever it moves forward (translating in the z direction), the wheel and the pedals rotate along the x direction by writing script. See the Maya file for the script. Similarly, I added an aim control in the rig to adjust the position of the seat when Psycho scans from top to bottom. The controllers can be moved in all directions to have Psycho look at the target circle. To create this control, I created a NURBS circle and added an 'Aim Constraint' with the seat. Feel free to move around the wheel controller rig to see how the wheel and the pedals rotate when the controller rig is moved.
Shading and Lighting:
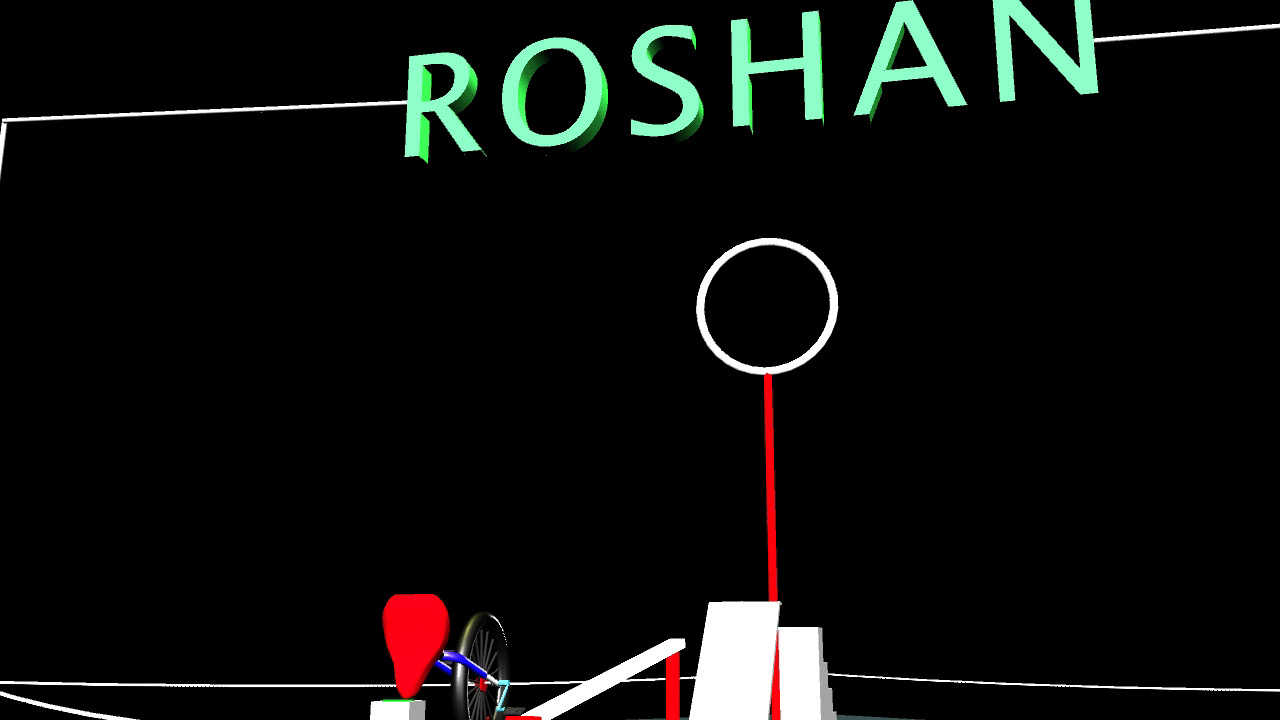
I shaded different parts of the uncycle with custom created Blinn, Lambert and Phong shaders. I created appropriate shaders for other objects in the scene as well. These include the cones, soccer ball, roller supports, 3D text, etc.Create light sources according to your requirements. In this animation sequence, I wanted to place emphasis on the button to light up the text on the top, so I placed a spot light there adjusting the color of the light and other properties such as the intensity, cone angle, penumbra angle, etc. Bear in mind the lighting will show effects once each is frame is rendered.
Animation:
To show you the talent that is Psycho, I added key frames for all the object in the scene.
In each key-frame I adjusted the translation, rotation and scale values accordingly. I used Shift+W, Shift+E and Shift+R hotkeys to set the translation, rotation and scaling values for each key frame respectively. I added key frames near the starts and the ends of movements to keep the look realistic. Using the timeline editor, I moved frames and even spread out the distance between frames from the technique I learned from the tutorial.
For every squash and stretch I made sure to adjust the scale values of the controller in the frames right before the jump is about to be made.
I made use of the 'copying and pasting frames' technique whenever I wanted to repeat certain animations and reused specific position/rotation and scale values. Additionally, I used the ghost and motion trail path tools to visualize the animations when adjusting the positions of the unicycle.
The last part of the animation involved setting up a camera and moving it around to get different viewing perspectives as the animation proceeded. This takes patience and needs to be done once the entire animation of the unicycle is done. Finally, I playblasted the animation and voila, the movie is ready.
Bear in mind, I also rendered each frame and took all these images and compiled them into a video too. Below you can find both, the playblasted animation and the rendered animation too.
Bear in mind, I also rendered each frame and took all these images and compiled them into a video too. Below you can find both, the playblasted animation and the rendered animation too.
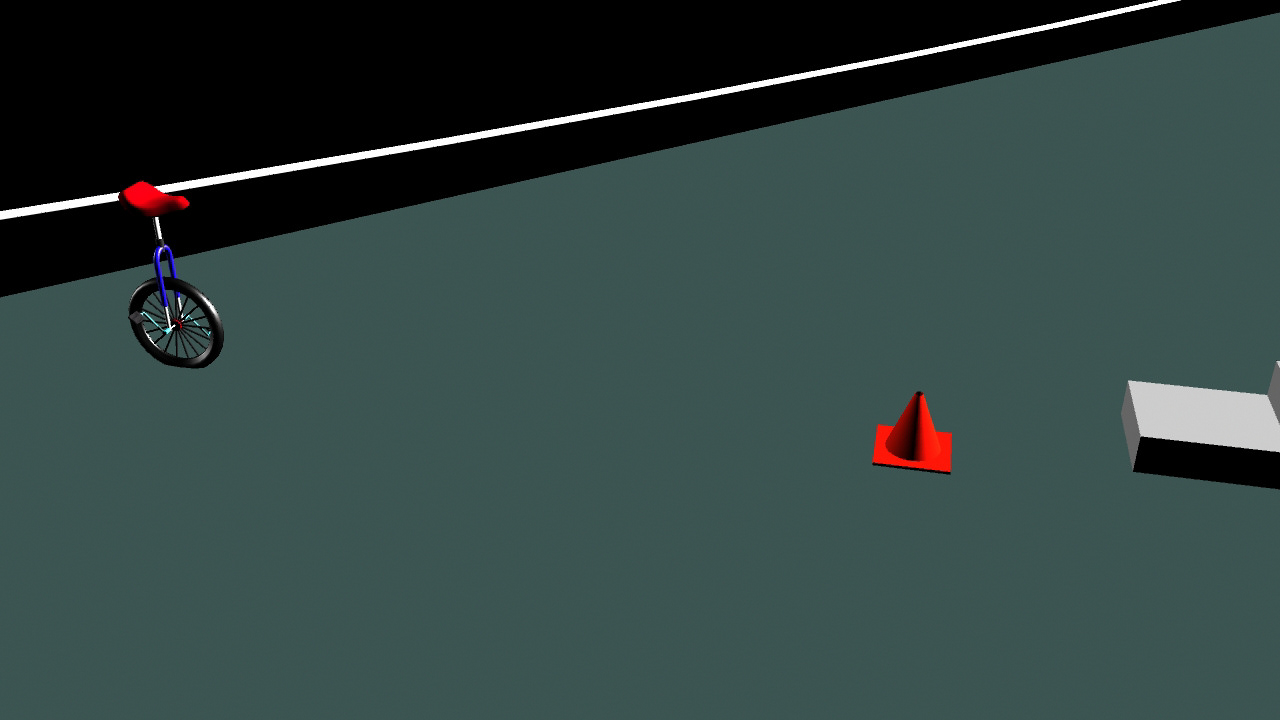
Find below, three frames from the animation:
Some of the animation principles I used were:
1. Arcs: Having the unicycle jump from the ground to the top of the fleet of steps makes use of an arc like trajectory to make it seems realistic.
2. Squash and Stretch: When Psycho jumps, he squashes and then stretches after in order to let viewers know about the momentum, velocity and weight.
3. Anticipation: When Psycho is about to jump, he moves back the first time. This rollback is an example of the use of anticipation since it lets the viewer know that he is about to jump.
4. Secondary Action: At the very end, when Psycho is falling down trying to press the button, his pedals are still rotating and flailing signifying loss of balance, control and probably a sense of embarrassment and pain.
5. Ease in and Ease out: The camera makes use of this technique when closing in on different views. Psycho starts slower, gathers pace and comes to a stop when approaching the cone.
Mains things to take away:
1. Animation is fun
2. Setting translation, rotation and scale values for each frame takes a lot of time
3. The timeline editor is your best friend
4. Rigging a wheel controller simplifies the animation task not requiring you to animate the wheel independently.
5. Modeling this arena was fun and takes a little more creativity (beats using existing models :P)
6. Playblasting doesn't render the best quality.
7. Everyone needs a Psycho in life