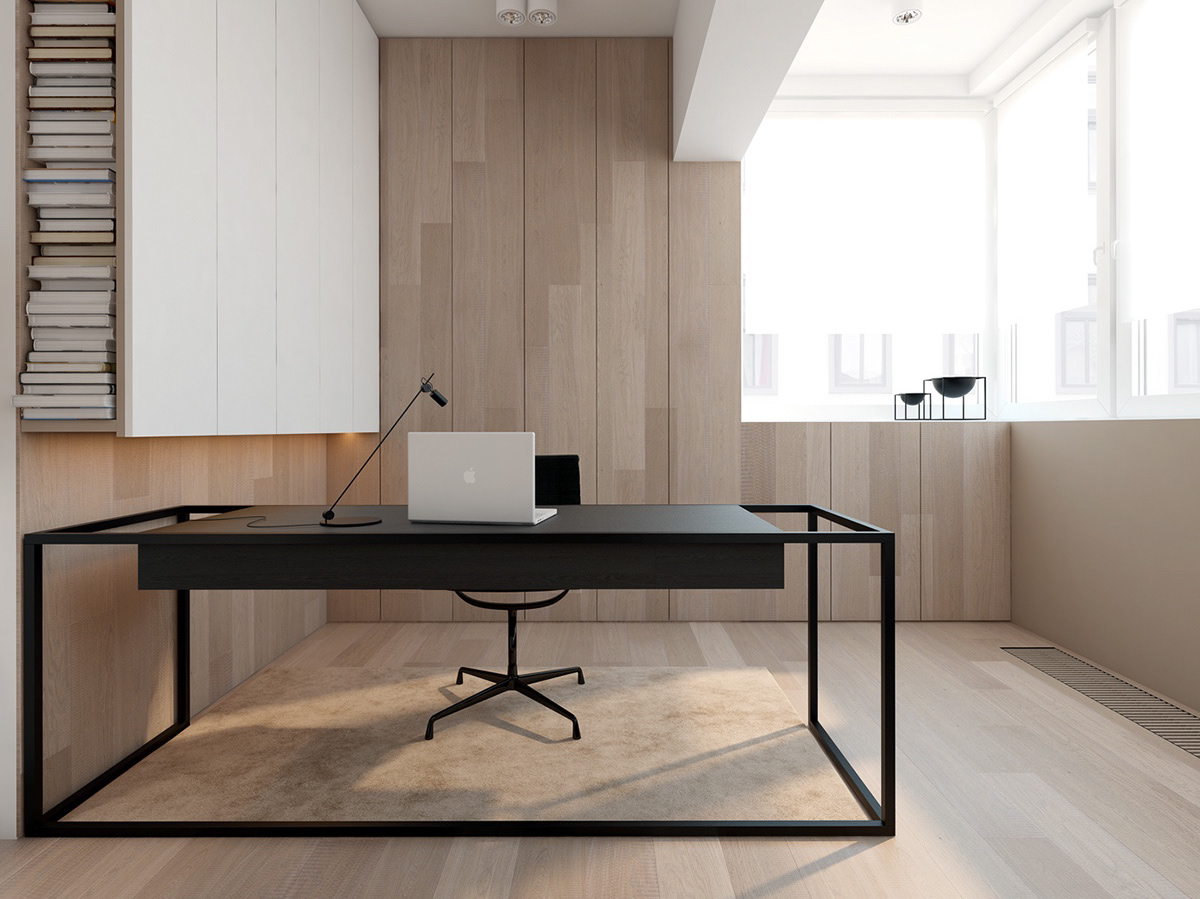
I chose to watch a tutorial that explains the basics of animation in Maya and the lessons I learned are detailed below:
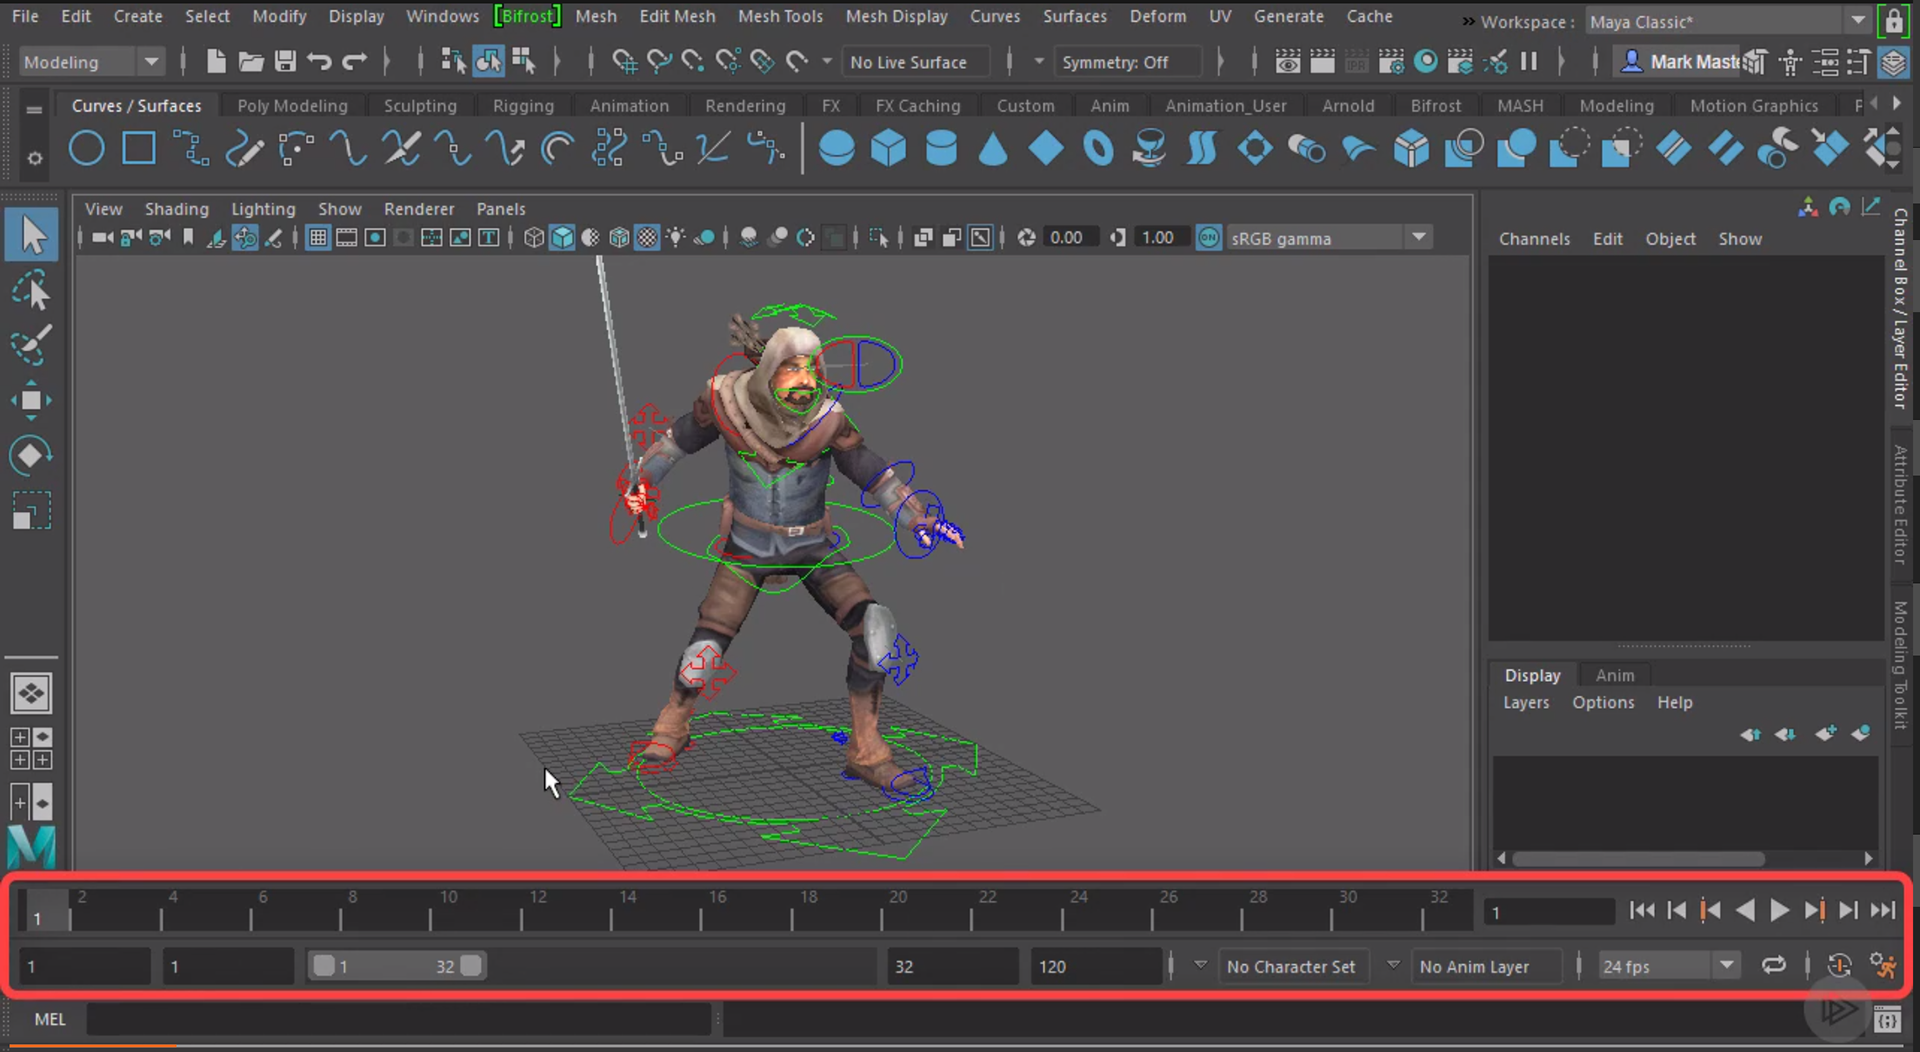
1. Playback Controls and the Time Slider:
Knowing where and how these controls and the time slider work is fundamental to any animation aspirations in Maya. The basic playback controls include playing/pausing an animation, jumping to every next frame or every next key frame that was defined. There are two other buttons that also allow one to jump to either the start or the end of the entire animation sequence. What I also thought was useful is the use of hotkeys for animation (Alt+v for play/pause; Alt+. to jump frames, and a whole lot more). The time slider that is located on the bottom of the screen in the Maya classic mode lets you visually see the frames of the animation arranged sequentially from left to right. The key frames are denoted in red.
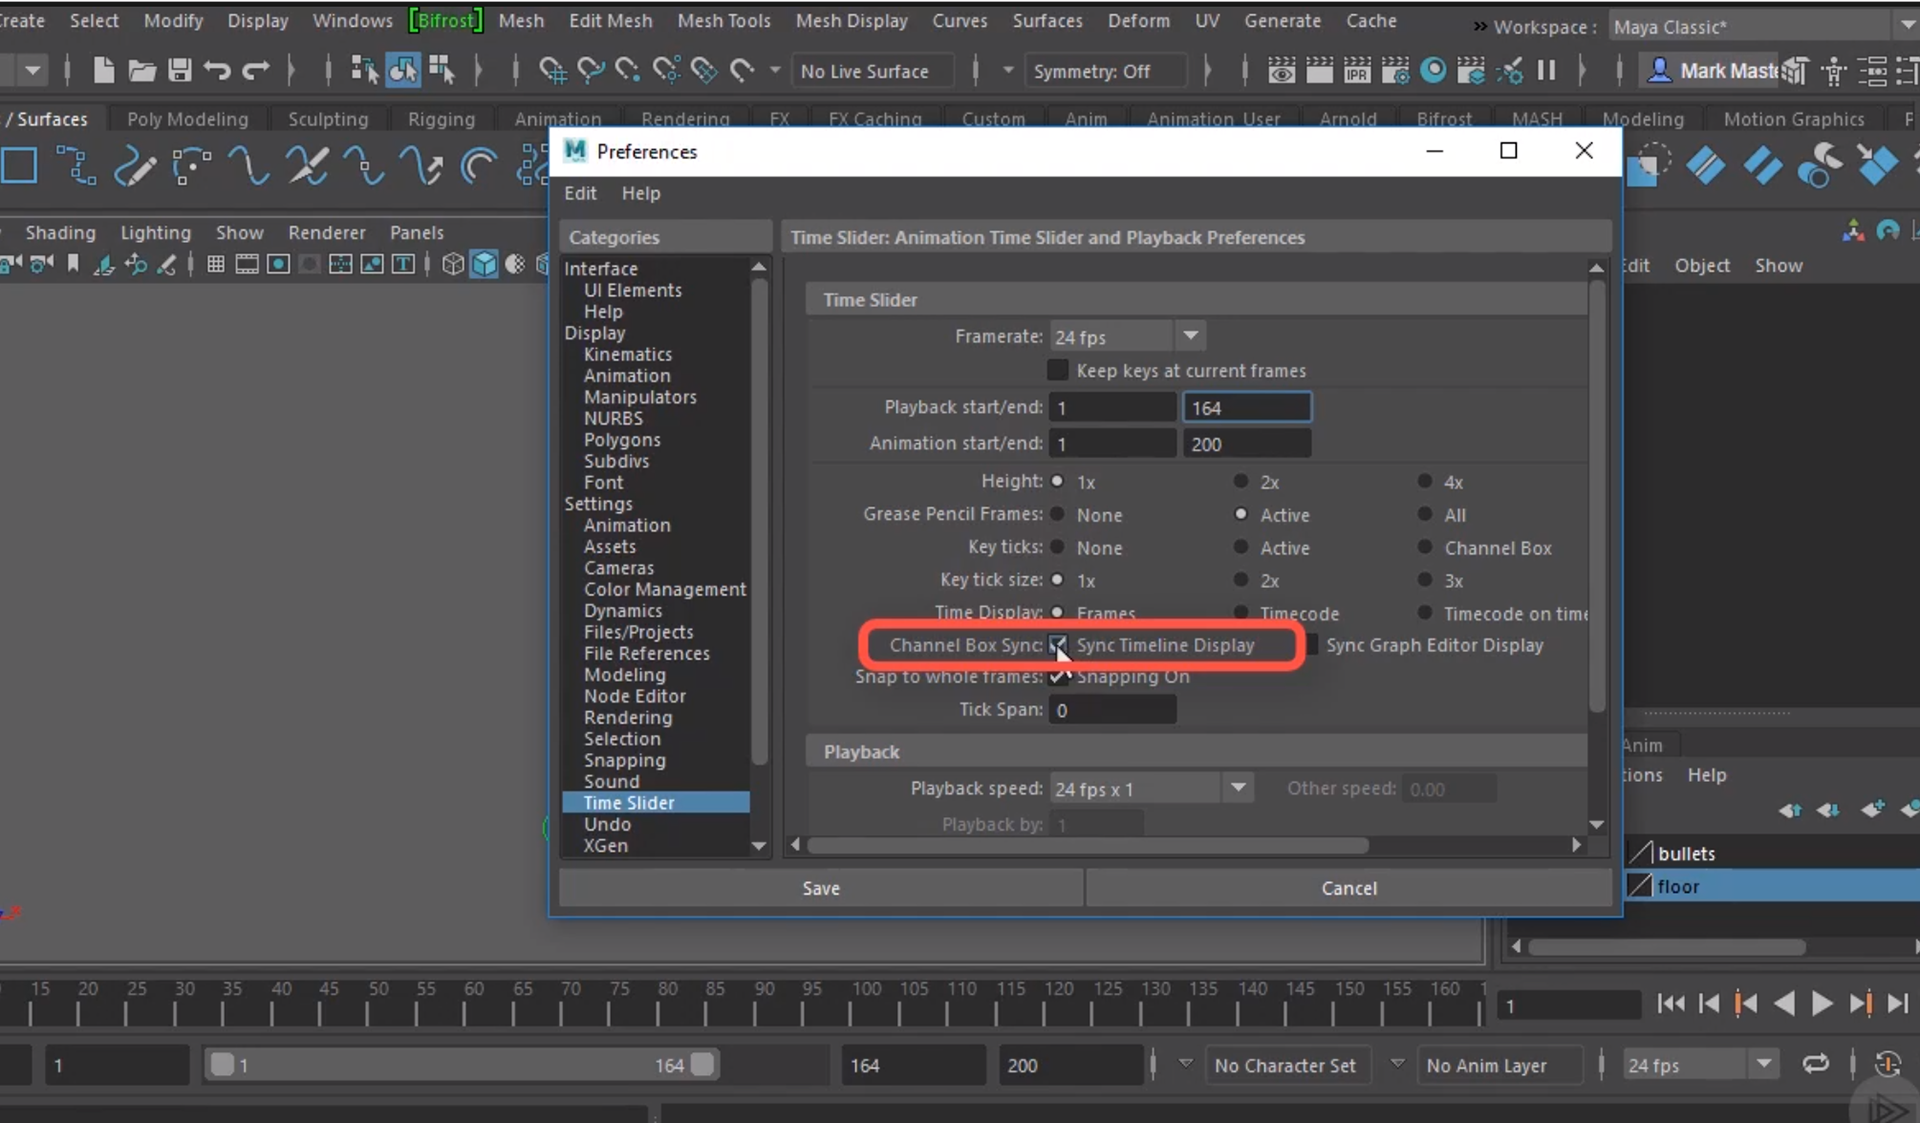
2. Animation Preferences:
There exists a small icon located in the bottom of the application on the right that lets you directly jump towards animation preferences where a bunch of things can be changed like the size of the time slider window, frame rate, the playback start and end values, the sizes of the key frame ticks and even the channel box sync settings. If we check the 'Sync timeline Display' checkbox then that means that it syncs the timeline to channel box itself. This means that the key frames for whatever channels that are selected in the channel box itself will get displayed (syncing up the channel box to the timeline). Setting the key ticks to smart means that if none of the channels are selected, then the key-frames associated with all the channels will get displayed.
3. Basics of Key-frames
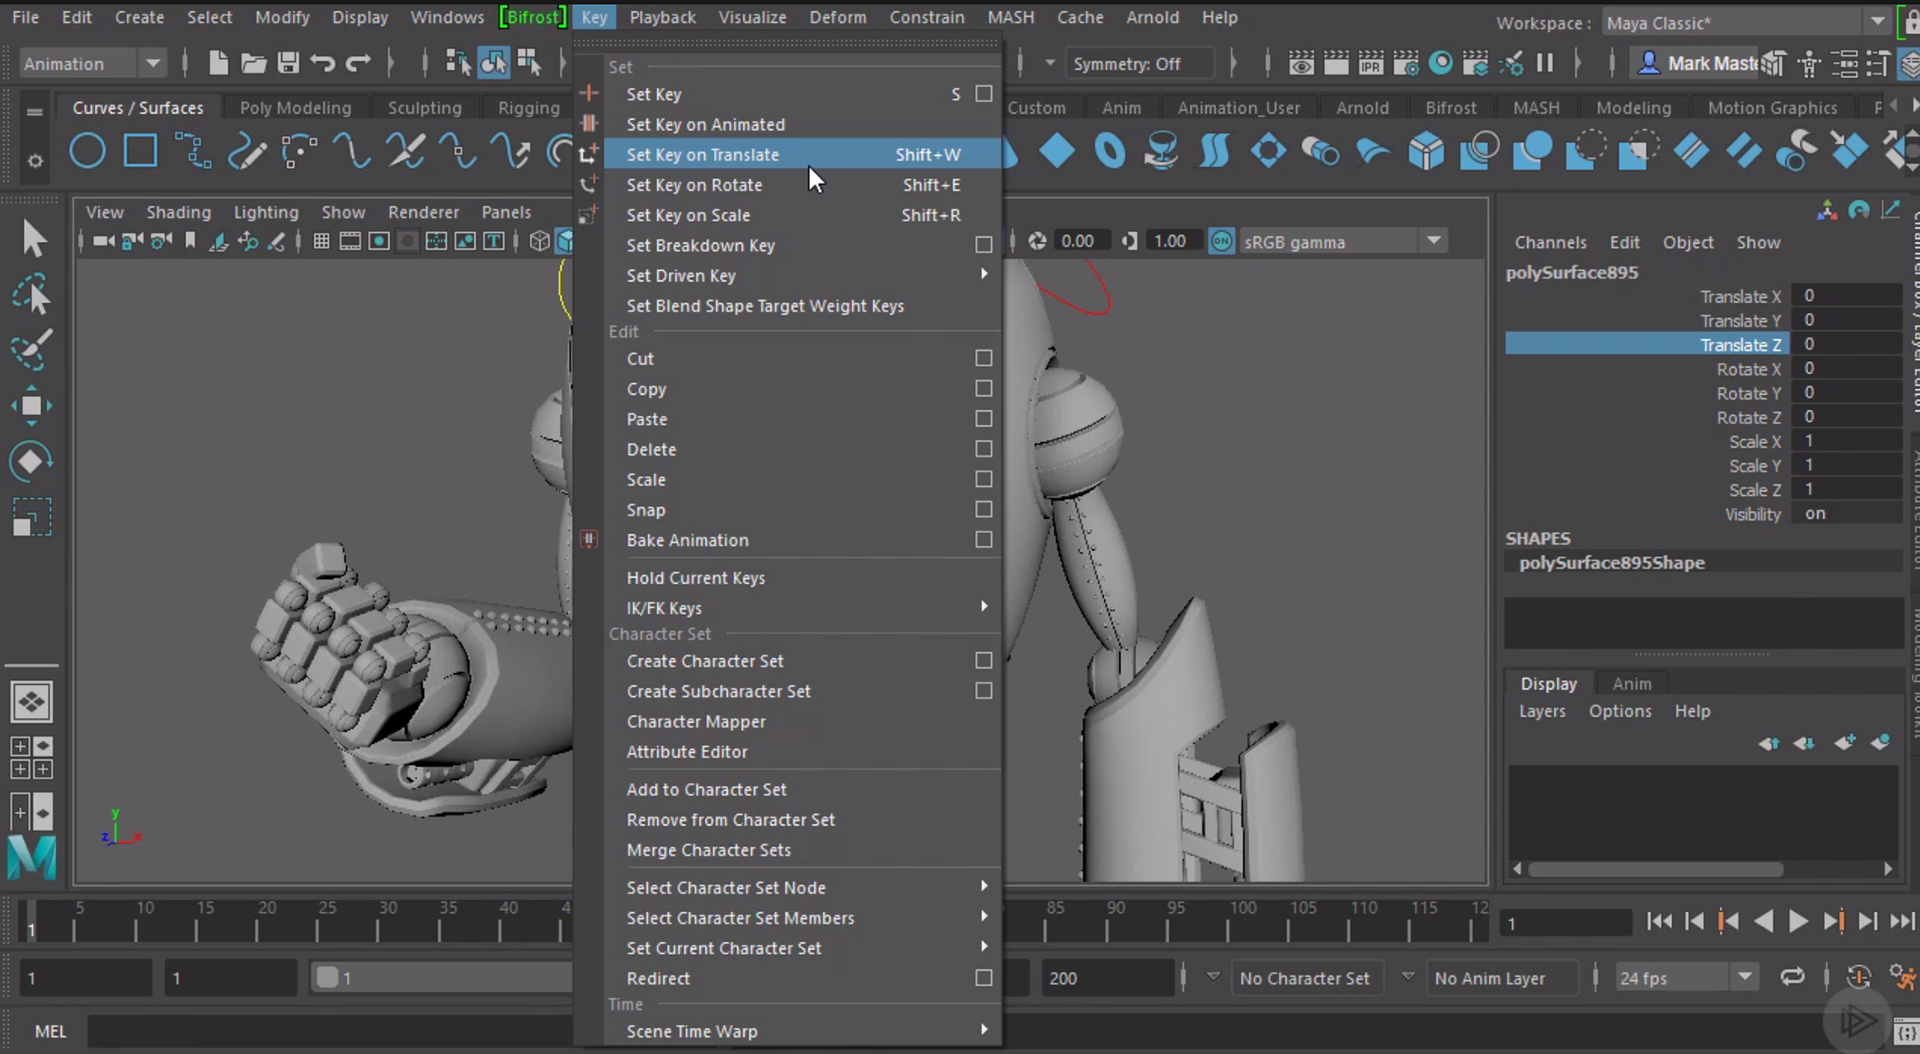
Setting key-frames is rather simple, but there are different ways in which one can achieve this. The most simple way would be to, after the selecting the component we wish to set the key frame for, go to the 'Key' window and select the 'Set key' option under the Animation mode in Maya (this sets the key-frame for all the channels). Similarly, from the Key window, it is possible to delete, scale, snap, copy, paste keys and even set key frames on specific channels. The hotkeys for all these actions make it much easier to set specific channels for specific components and objects. Pressing the character S lets you set a key-frame instantly. Similarly, Shift+w, Shift+e, Shift+r lets you set the translation, rotation and scale channels respectively. I also find the idea of copying and pasting frames potentially useful to a large degree. The rational behind this ideology lies in the fact that a lot of animations often require the same kinds of movement of different components. Take walking for instance; as week keep moving forward in the world, our body parts (i.e. the hands, legs, hips, etc.) follow the same patterns of movement leading to identical values on the rotation, scale channels. Using the shift+click option on the time slider, it is possible to move around frames and even better, spread key frames wider apart or bring them closer. It is also important that as Maya interpolates the frames between set key frames, spreading or bringing key frames closer will result in key frames sometimes being set on non whole numbered frames. To keep all the key frames set on whole numbered frames only, we can snap these spread out key frames onto whole numbered frames in timeline editor.
4. The Graph Editor:
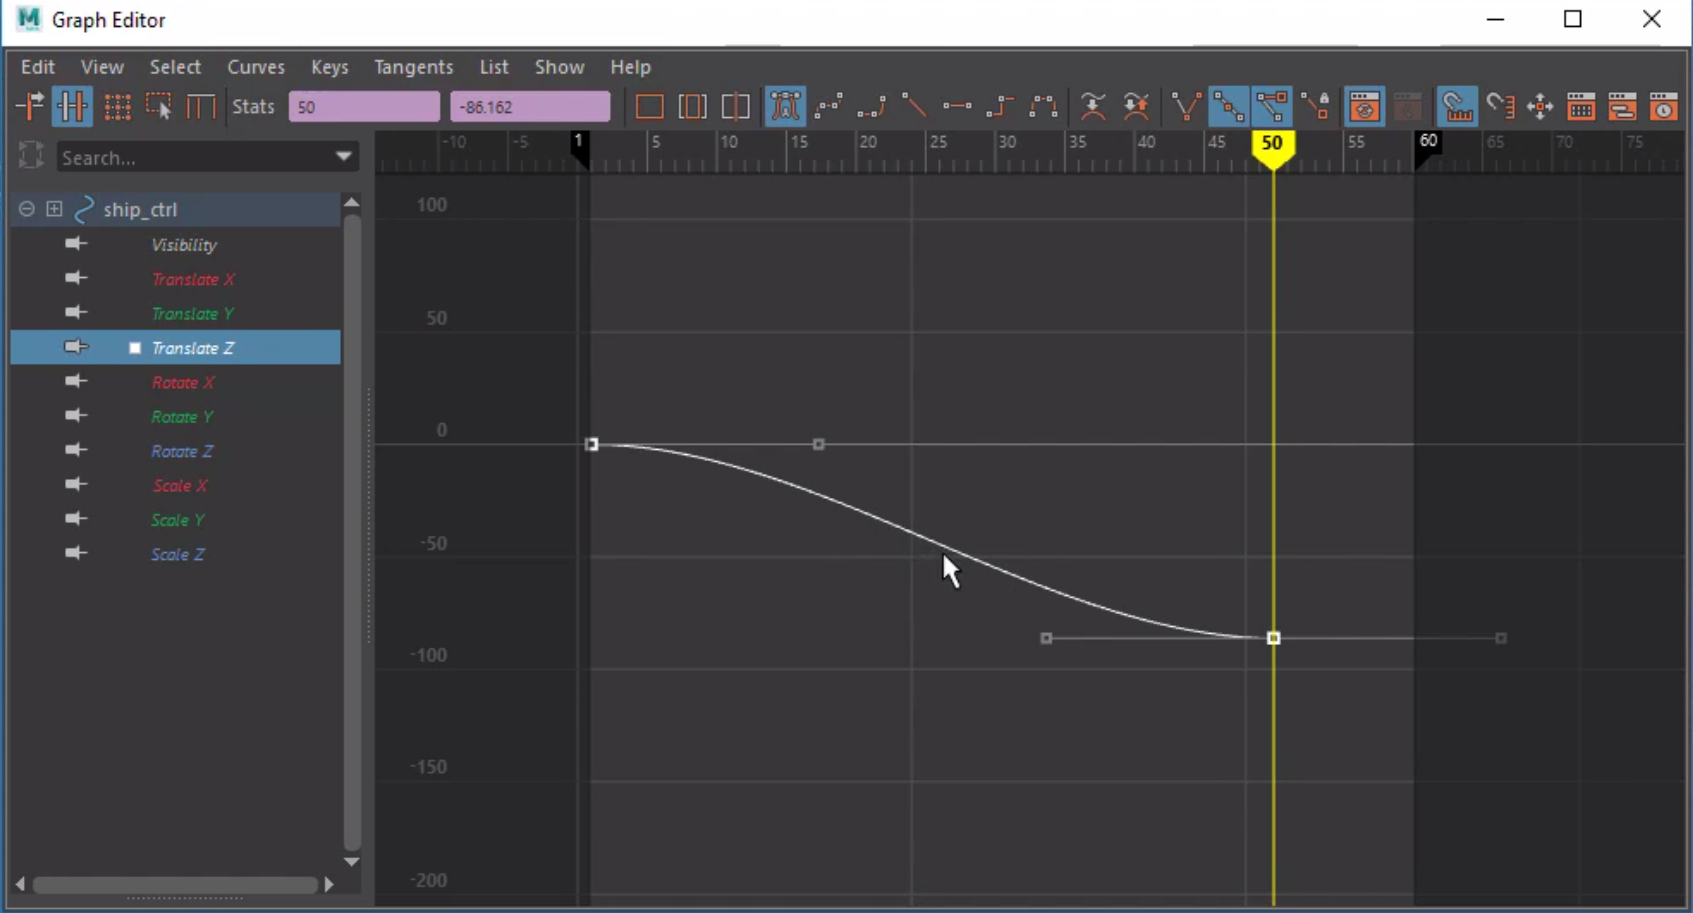
The graph editor provides a sort of visual/graphical depiction of the interpolation between key frames and can be modified. Select the 'Windows' menu and chose 'Graph Editor' under the 'Animation Editor' sub menu to access it. The x axis on the top represents the frame numbers increasing from left to right for a specifically selected channel of an animated component and the y axis represents the values set for the chosen channel of that component. Each key frame is depicted as a square box in space in this graph. Navigating this editor requires the knowledge of these hotkey combinations; Alt+Middle Mouse Button(MMB) lets you pan the graph, Alt+Right Mouse Button (RMB) combined with moving the mouse the around lets you either zoom in or zoom out (dolly in and out), while Alt+Shift+RMB lets you zoom in while either the vertical or the horizontal axis is constrained. A yellow tick running across the graph represents the current frame and moving this lets you scrub across the animation. Moving key frames in the graph Editor requires the use of the MMB after having selected the key frame dragging it to to intended place. In case you want to drag it keeping either the value or the frame number constant (essentially either changing the position of the key frame of the value of a channel in a specific position of a key frame), use the Shift+MMB after having selected the channel and drag either along the horizontal or vertical axis. Inserting keys is rather simple and c an be done by clicking the curve and then selecting the insert key icon on the top left corner of the 'Graph Editor' window. Tangents are the handles associated with each key in the Graph Editor that lets us adjust the angle of approach and departure of a key frame. This in turn allows us sharpen, smoothen or stabilize the animation movement. There are options that let you lock and break tangent handles under 'Tangent' menu which are useful for certain animations.
5. Visualize Tools:
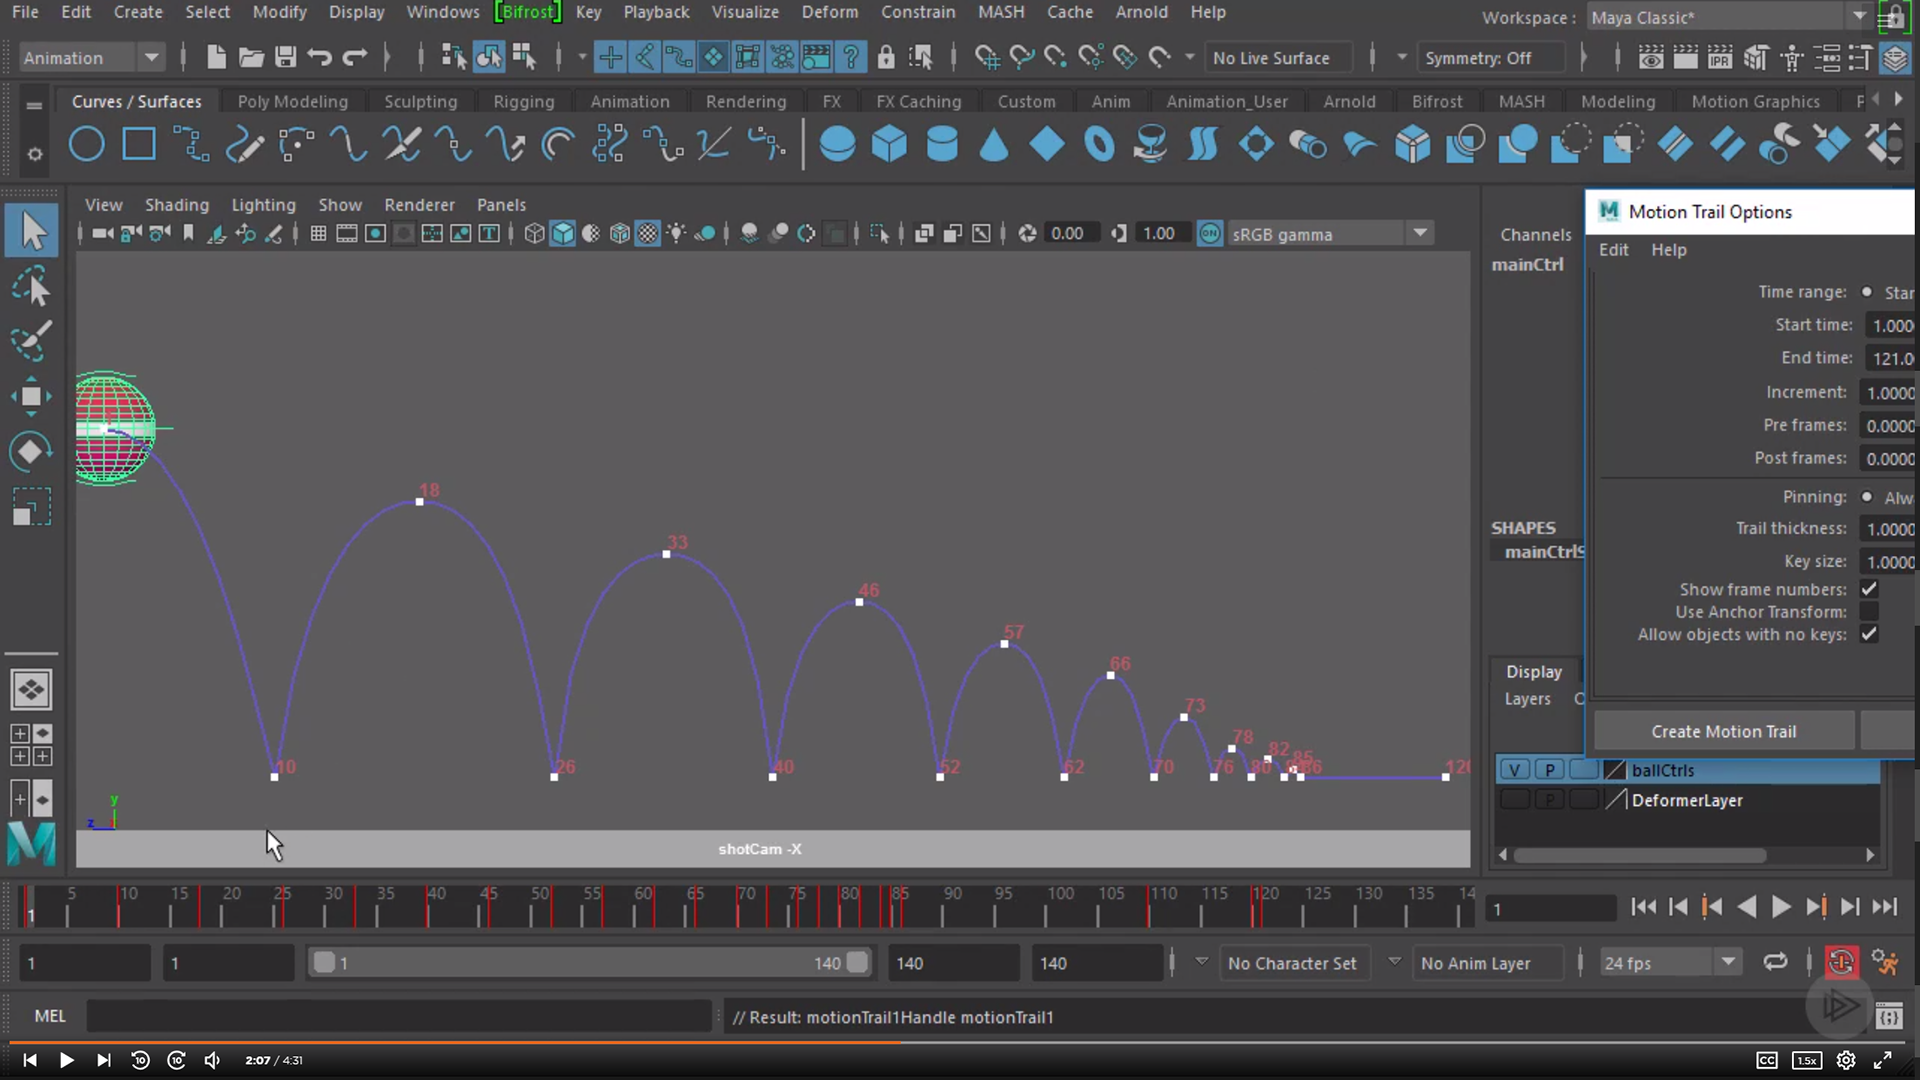
We can easily visualize the motion trail of an object that has been animated by first selecting the object we wish to see the trail for and then choosing the 'Create Editable Motion Trail' under the 'Visualize' menu. If we want to display the frame numbers, we have to check the 'Show frame numbers' option in thew option menu. Doing this lets you see the path the object takes as depicted. this tool also lets us dynamically edit and see the trail in the scene which is really helpful in altering paths, positions at specific instances, etc. Sim ply click the frames and translate them around to edit the motion trail. The 'Ghost Selected' tool under the same menu lets you view the positions of the objects during the animation sequence. It provides a means to preview the path of the object in question, in 3D space. It is possible to change the number of ghost frames displayed both before and after the current frame selected. All these can be seen in the Animation preferences window under the Windows Menu.
6. Animation Following a path:
To animate an object along a path, it first requires creating a path for animation. For this we can create a curve and after this has been done, we can Select both the object and the curve in that order and then choose the 'Attach to Motion Path' under the 'Motion Paths' option which all lie within the 'Constrain' menu. We can adjust the time range and front/up axes. We can also adjust the spacing for this animation by selecting the object and adjusting the 'U Value' in the Motion path node from both the graph and channel box editor. In the graph editor we would need to make use of the tangent handles to achieve the desired spacing. To give some side to side rotation, we need to adjust the 'Front twist', 'Up Twist' or the 'Side Twist' under the motion path node in the channel box editor.
7. MASH tools
MASH tools are useful for procedural animations or any motion graphics type of animation. I learned how to animate some #D text using some MASH tools. To do this, first we can create some 3D type text and then after adjusting the kerning scale (to adjust spacing between characters), we can create a cube and give it some color. Once we have selected this object we can create a network of these cubes by selecting 'Create MASH Network' under the MASH menu. We can adjust the distribution type to mesh under the MASH distribute tab. This lets us choose the objects in the scene that we wish to attach a these cubes to (plug in the objects from the Outliner). Adjust the method to 'Voxel' to keep these cubes more evenly spread out around the text and adjusting the Voxel size lets us play around with the distribution. There are a lot of effects to choose from such as Signal, Python, Random, Audio, Curve, etc. Adding Signal node makes every cube inherit that signal effect. We can give these cubes some 4D noise and further adjusting the noise settings lets us play around with the noise scale, the step amount, the time scale, etc. I learned about a technique that allows you apply animation selectively to certain places that are defined by zones covered by Falloff objects that we create under the Signal Tab in the channel box editor. We can also invert this effect checking the 'Invert Falloff' checkbox under the same tab. Furthermore we can adjust the Falloff object to move (by translating and setting keyframes) around the text which lets us selectively animate different parts of the text during the animation sequence. We can also turn the Falloff object effect off after it passes through certain nodes of the network by setting the mode to 'Add' under the falloff node options. Ultimately this lets us make procedural animations using the MASH tools